Make Creamy Silk Yogurt at Home
- A Creamy Dream: Discovering Homemade Yogurt
- The Yogurt Saga: History & Now
- Why You’ll Love This Recipe
- Getting Ready to look into In
- Essential Ingredients Guide for Homemade Yogurt Magic
- Whipping Up Creamy Silk Yogurt: A Culinary Adventure at Home
- Pro Tips & Secrets
- Perfect Presentation
- Storage & Make-Ahead
- Creative Variations
- Complete Nutrition Guide
- Expert FAQ Solutions
- 📝 Recipe Card
A Creamy Dream: Discovering Homemade Yogurt
Oh, let me tell you a little story. a few years ago, i was scrounging my pantry for a midnight snack, and i came across a forgotten tub of store-bought yogurt.
You know the one thick, packed with sugar, and lacking real flavor? i was like meh . that's when i remembered a friend shared how easy it is to make creamy silk yogurt at home .
Since then, my kitchen's never been the same! seriously, if you’re tired of blah yogurt, stay with me. i’m gonna walk you through this delightful journey of smooth homemade yogurt .
The Yogurt Saga: History & Now
Yogurt has been around forever, and honestly, its roots go deep into various cultures. people have been making yogurt for centuries think of it as one of the original health foods!
The cool thing is that while yogurt making has a rich history , it's still super relevant today, especially with the whole healthy living vibe.
Making yogurt at home brings back those traditional yogurt techniques and gives you a chance to play mad scientist in the kitchen.
Now, let’s chat about the nitty gritty. this homemade yogurt recipe is easy peasy . prep time is just about 15 minutes, but you’ll need to let it hang out fermenting for 8- 12 hours.
Don’t worry, most of that time is just you ignoring it while you binge watch your favorite show. and wallet wise? it’s super friendly! with just a couple of ingredients you probably already have, you can whip up around four cups enough to keep your morning routine refreshed, or for a faceplant snack in the afternoon.
Why You’ll Love This Recipe
First off, let’s talk about the health angle. this probiotic rich yogurt is not just tasty; it's a little powerhouse for your gut.
Filled with live cultures, it's known to boost digestion and can help with immune health. honestly, who doesn’t want their snack to pack a healthy punch?
If you’re planning a gathering or a cozy dinner for two, this yogurt shines. it’s perfect for breakfast topped with fresh fruit, as a yogurt smoothie base, or when you’re feeling fancy, in dips and sauces.
Plus, if you want to change things up, you can totally customize yogurt flavors. add in honey, berries, or even a splash of vanilla get wild!
There are endless variations, and since it's homemade, you get to control the ingredients! want a thicker texture? just let it ferment a bit longer.
Trying to avoid dairy? there are dairy-free yogurt options with almond or coconut milk. the versatility is real!
Getting Ready to look into In
So, are you ready to jump into making your smooth homemade yogurt ? With its simple ingredients and easy yogurt making process, it's time to gather what you need:
- Whole Milk (preferably organic for that creamy goodness)
- Plain Yogurt with Live Cultures (make sure it’s without added flavors)
Besides that, you might want a few kitchen essentials: a heavy bottomed saucepan, thermometer (because we’re fancy), and a towel for fermenting. Trust me, the right gear helps keep the yogurt making vibes strong!
Stay tuned, because in the next part, we'll dive deeper into the step-by-step instructions to get you on the path to yogurt bliss.
It’s time to make creamy silk yogurt at home and bring that delightful, tangy goodness into your life one glorious cup at a time!
Essential Ingredients Guide for Homemade Yogurt Magic
So, you wanna dive into the world of making creamy silk yogurt at home ? well, buckle up, because this delightful journey will not only yield you smooth homemade yogurt , but also unleash your inner kitchen maestro!
Let's stroll through the essentials of yogurt making, making sure you’ve got all the bases covered.
Premium Core Components for Success
First things first— quality matters . When you're choosing your ingredients, here’s what you need to keep an eye out for:
Whole milk: for that rich and creamy texture, start with 4 cups of whole milk (preferably organic). pro tip: look for milk that’s not homogenized if you want that silky finish.
For those counting, that’s about 1 liter .
Plain Yogurt: You’ll need 2 tablespoons of unflavored yogurt with live cultures . Check the label, folks! No added sugars or funky flavors; we want the good stuff.
Storage tips: once your ingredients are in use, store your yogurt in a cool, dry place, and always keep it in the fridge when you're not mixing things up.
Homemade yogurt generally lasts about two weeks , but i bet you’ll gobble it all up much quicker than that!
Spice Up Your Life with Signature Seasoning Blends
Okay, so yogurt is a blank canvas, and it loves to wear different flavor hats ! Think cinnamon, vanilla, or fruit purees. Let your imagination flow!
Essential Combinations: A favorite combo for extra richness? Mix a tad of vanilla extract or a splash of maple syrup post fermentation. It’s like a hug in a bowl!
Regional Flavors: Explore yogurt styles from different cultures. Ever tried a savory yogurt dip with garlic and herbs? Total game changer.
Smart Substitutions for Everyone
What if you’re missing an ingredient? No worries, I’ve got your back!
Alternative Milks: If cow milk isn’t your jam, go for almond or coconut milk! Just make sure to grab some thickeners because they’re a little thinner than whole milk.
Yogurt Starters: If you can’t find plain yogurt, and you’re really craving that probiotic rich yogurt , try a probiotic capsule as a starter. Just pop it in your cooled milk!
Kitchen Equipment Essentials for Yogurt Making
Now, let’s talk tools. The right equipment makes all the difference.
Must have tools: you’ll need a heavy bottomed saucepan (to heat the milk evenly!), a thermometer (to hit that sweet spot around 110° f or 43° c ), and a whisk (do the yogurt dance!).
Storage Solutions: A clean glass or plastic container with a lid is crucial for fermentation. Want to wrap it in a towel? Great choice! It helps keep it warm during the fermentation.
Why Homemade Yogurt Rocks
Honestly, making yogurt at home isn’t just about saving a few bucks. it’s about control control over ingredients, flavors, and those oh-so-important health benefits .
Every spoonful is loaded with goodness and live cultures that are fantastic for your gut health.
Plus, it’s super satisfying to whip up this creaminess in your own kitchen. and the best part? you can get creative.
Add in your favorite toppings like fresh fruit or nuts, mix up those flavors, and serve it up in delicious yogurt smoothies or as a base for dips and dressings.
So there you have it! we're just about ready to jump into the step-by-step adventure of making that thick yogurt recipe everyone raves about.
Grab those ingredients, clear your schedule for a bit of patience, and let’s get that process rolling. stay tuned for the instructions section, where we’ll walk you through making the most delectable silky smooth homemade yogurt for you and your loved ones!
Whipping Up Creamy Silk Yogurt: A Culinary Adventure at Home
Have you ever thought about making your own yogurt? you know, like, not just grabbing a tub of it from the grocery store? it may sound daunting, but trust me, making creamy silk yogurt at home is easier than you'd think! not to mention, it's a fun little kitchen adventure that can totally pay off in flavor.
We’ll get into the nitty gritty of how to whip up a batch of delicious, probiotic rich yogurt that’ll bring all the yum to your breakfast table.
Essential Prep Steps: Setting Up for Success
Before we dive into the actual yogurt making, let’s talk about some essential prep steps.
Mise en place is your best buddy here. this fancy term just means to get your ingredients and tools ready to rock before you start.
Grab 4 cups of whole milk and 2 tablespoons of plain yogurt with live cultures. you’re looking for that good stuff with no additives.
Next up, time management is key. you’ll need about 15 minutes for active prep and then let your yogurt ferment for a solid 8- 12 hours .
It’s mostly hands off time, but don’t forget about it! use a timer or set a reminder yogurt-making is all about precision!
When it comes to organization, keep your workspace tidy. have all your utensils like a thermometer and whisk within reach. and don’t forget to focus on safety! make sure all your tools and containers are squeaky clean to ward off any unwanted bacteria.
Step-by-step Process: The Cooking Journey
Ready to play? Here’s how you make that smooth homemade yogurt .
Heat the milk: pour that milk into a heavy bottomed saucepan and heat over medium heat until it hits 180° f ( 82° c) .
Use a whisk to stir gently; we don’t want it sticking to the bottom.
Cool the Milk: Now, take it off the heat and let it cool down to about 110° F ( 43° C) . Grab your thermometer trust me, it’s worth it!
Inoculate the milk: in a small bowl, mix your plain yogurt with a couple of tablespoons of the cooled milk until it’s smooth.
Then whisk it into the milk mixture like you’re a mad scientist.
Transfer to Container: Pour everything into a clean container, cover it tightly, and wrap it in a towel or blanket to keep that warmth in.
Ferment: Place your cozy bundle in a warm, draft free area and let it sit undisturbed for 8- 12 hours . Excitement is going to get real!
Check Consistency: After the long wait, check how thick it is. The longer it sits, the tangier and thicker it gets.
Refrigerate: Pop that yogurt in the fridge for at least 2 hours before serving.
Store & Enjoy: Save a couple of tablespoons for your next round, and dive into your creation plain or decked out with your fave toppings!
Expert Techniques: You Got This!
Now, let’s sharpen those skills with some expert insights! First things first, quality ingredients matter . Use the freshest milk you can get it’ll make a world of difference.
Temperature control is super important for fermentation. you want your milk to stay around that sweet spot of 110° f while it cultures.
If it drops too low, the live cultures may slow down, and nobody wants that!
Don’t forget to check the yogurt’s consistency this is your yogurt consistency check moment! It’s like waiting for a cake to rise. The texture should be creamy and thick!
Success Strategies: Avoiding the Pitfalls
Let's talk about common mistakes to dodge. One biggie? Rushing the fermentation. If you pull it out too soon, it won’t have that delightful tanginess that makes you go “wow.”
Quality assurance tips are a must. Before using your yogurt as a starter for the next batch, make sure it’s thick and has a pleasant smell.
And hey, if you want some make-ahead options, yogurt can be stored in the fridge for about 1-2 weeks —perfect for meal prep!
Additional Information
If you’re looking for a simple yogurt recipe or scampering for yogurt toppings ideas, your homemade silk yogurt is a blank canvas! top it with fruits, honey, or granola for breakfast, blend it into smoothies, or even use it as a base for savory dips.
You can really customize yogurt flavors to match whatever you’re craving.
Honestly, making yogurt is much more than just cooking; it's an adventure packed with health benefits, probiotics, and deliciousness. So what are you waiting for? Grab those ingredients and let’s Make Creamy Silk Yogurt at Home !
Pro Tips & Secrets
So, let’s dive into some pro tips that’ll help you nail this homemade yogurt experience. first off, don’t be shy about using good ingredients .
Seriously, quality matters! when you’re making creamy yogurt at home , stick with whole milk . it gives you that rich, luscious texture we all crave.
You want something that’s going to make your taste buds dance!
For the best results, keep an eye on your temperature control . when you heat the milk to 180° f ( 82° c) , it not only kills any unwanted bacteria but also helps in getting that creamy texture when it cools down and ferments.
Use a good thermometer for accuracy because no one wants a soupy yogurt, am i right? once cooled to 110° f ( 43° c) , that’s when you’ll add your live cultures for yogurt .
This is key! the bacteria need a cozy warm home to thrive.
Also, let’s talk about time saving techniques. instead of a fancy yogurt maker, good ol’ blankets or towels wrapped around your container work wonders for keeping it warm during fermentation.
Just make sure your space is draft free.
And, lastly, enhance those flavors! you can add a splash of vanilla extract or even some honey before fermentation for a little kick.
Trust me, your future self (and your guests) will thank you!
Perfect Presentation
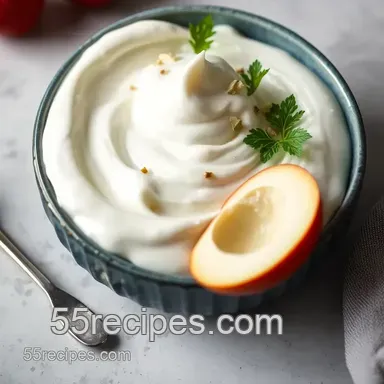
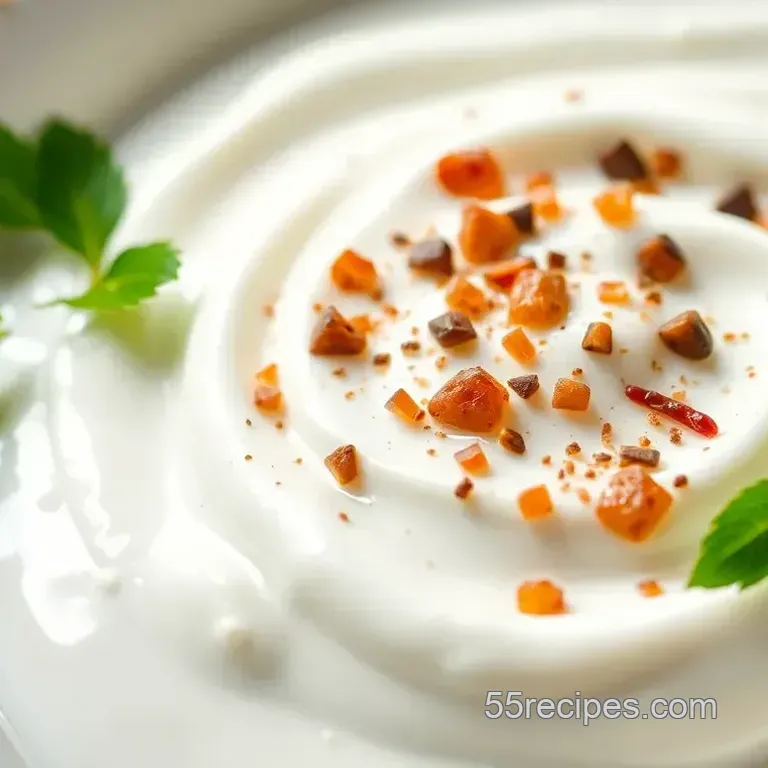
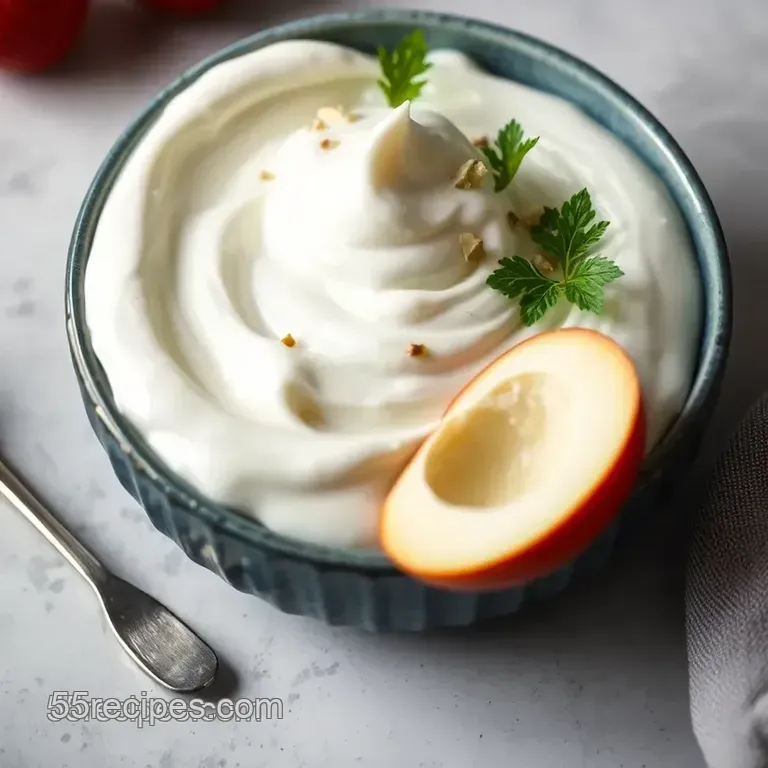
Now, let's get into the fun part presentation ! plating yogurt is all about color and texture. a simple bowl of yogurt adorned with fresh fruits like berries or sliced bananas mixed in with a sprinkle of granola will have the whole dining table buzzing.
Think about your garnishes fresh mint leaves or a drizzle of honey add a charming touch. not only do they taste good, but they also create that instagrammable vibe that everyone loves.
Aim for balance and a bit of variety in colors. bright fruits against the creamy backdrop of yogurt certainly make for a showstopper!
Storage & make-ahead
So you’ve made your smooth homemade yogurt now what? storage is super simple! keep it in an airtight container and it will last about two weeks in the fridge.
But hold on! if you want to save some for your next batch, reserve a couple of tablespoons to act as your next diy yogurt starter .
For those late night snack cravings or busy mornings, you can definitely make your yogurt ahead of time. just remember to keep it covered so it doesn’t absorb any weird fridge smells.
And if you do notice it starting to separate? just give it a good stir!
Creative Variations
Feeling adventurous? there’s so much room for creativity here! you can customize yogurt flavors by adding spices too. imagine blending in cinnamon and a little nutmeg for a fall inspired sensation .
Or, if you’re a fruit lover, try pureeing mango or strawberries and swirling it in after fermentation for a tropical twist.
For dietary modifications, how about experimenting with dairy-free yogurt options ? use coconut milk or almond milk, but don’t forget to include those thickeners.
Your yogurt might come out a bit different in texture, but hey, that’s the beauty of cooking the fun of trial and error!
Complete Nutrition Guide
Now, let’s talk about the nutritional yogurt facts . this homemade treat is not just tasty; it’s packed with health benefits ! each serving contains protein, healthy fats, and beneficial probiotics that aid digestion.
As for portion guidance, keep it in check by knowing that a serving size is roughly ½ cup . Perfect for breakfast alongside some fruit or as a base for sauces or dips whatever suits your fancy!
Expert FAQ Solutions
Got questions? You’re not alone! Here are some common queries about your yogurt making journey.
- Why did my yogurt not thicken? Check the temperature during fermentation. If it’s too cold, culture growth slows down.
- How do I know when it’s ready? A thick, creamy texture is your cue just like those shop bought versions!
- Can I flavor it after it's made? Absolutely! Drizzle in honey or stir in some cooked fruit for a yummy mix.
So, are you ready to make creamy silk yogurt at home ? trust me, with a few ingredients and a little patience, you'll have a deliciously versatile treat that beats anything from the store.
You'll feel so accomplished and, let’s be honest, it's way more fun to say you made it yourself. whether you enjoy it straight up, in smoothies, or topped with fresh fruit, this yogurt can fit brilliantly into any breakfast or snack routine.
Look into in and enjoy your yogurt adventure!
Make Creamy Silk Yogurt At Home