Perfectly Simple Pie Crust: Flaky and Delicious
- The Magic of Making Pie: A Slice of My Life
- A Quick Overview of Pie Crusts
- Why This Pie Crust Rocks
- Transitioning to Ingredients
- Essential Ingredients Guide for the Perfect Pie Crust
- Perfectly Simple Pie Crust: Flaky and Delicious
- Pro Tips & Secrets
- Perfect Presentation
- Storage & Make-Ahead
- Creative Variations
- Complete Nutrition Guide
- Frequently Asked Questions
- 📝 Recipe Card
The Magic of Making Pie: A Slice of My Life
Oh my gosh! there’s something magical about pie, isn’t there? i remember the first time i attempted to make an easy pie crust recipe .
I was in college, totally stressed out, and in need of some good old comfort food. my grandma always made the best pies, and i thought, “how hard can it be?” spoiler alert: it took me a few tries to get it right.
But once i nailed that flaky pie crust , oh boy, it was heaven!
In that moment, i realized that making pie could be just as comforting as eating it. whether you're preparing for a family gathering or just indulging in a late night snack, a homemade pie can really bring people together.
So, let’s dive into the world of pie crusts where the possibilities are endless and the results are always delicious.
A Quick Overview of Pie Crusts
Did you know the art of making pie crust dates back centuries? traditionally, it was all about using simple ingredients that would stand the test of time.
Fast forward to today, and the homemade pie crust is a staple in american kitchens. from grandma's classic apple pie to trendy herb infused creations, easy pie crust from scratch is here to stay!
Now, let’s get into what you can expect with this recipe. it’s seriously quick think about 15 minutes of magical mixing and then 30 minutes of chilling in the fridge.
So, you can have your pie crust ready in about an hour! that's pretty cool, right? and for what it’s worth, my friends, it’s a no-fail pie crust that you’ll want to master.
In terms of cost, making a simple pastry dough is wallet friendly. you’ll probably spend less than six bucks for a full pie crust.
Plus, it yields a 9 inch pie crust , which can serve around eight slices. perfect for sharing or indulging solo!
Why This Pie Crust Rocks
Now, let’s talk benefits! first off, using a homemade pie crust means you know exactly what’s in it. no preservatives here! you’ll enjoy a healthy and delicious option that won’t weigh you down.
Plus, it’s super versatile. want to whip up a sweet dessert or a savory quiche? this crust can handle both, thanks to its flaky and tender texture.
Special occasions ? you bet! birthdays, holidays, or even a random tuesday night this pie crust recipe shines. i’ve made it for thanksgiving and got rave reviews.
People genuinely appreciate the effort of a homemade dessert crust , and it’s definitely a crowd pleaser.
Another cool thing? You can customize it! Want something extra special? How about adding some fresh herbs for a savory spin or a hint of cinnamon for a sweet pie? The key advantages of this recipe make it the best pie dough for beginners you can't go wrong!
Transitioning to Ingredients
Ready to roll up your sleeves and dive into the ingredients? before we get there, remember, the magic of a great pie crust is all in the technique.
From mastering the ice water dough technique to learning how to properly roll out the dough for pies, it’s all about practice.
So, let’s get you set up with everything you’ll need for this step-by-step pie crust guide and whisk up some culinary magic!
Grab your measuring cups, your essential pie baking tools , and get ready to create something truly delicious. You’ll be well on your way to serving up the best pie ever!
Essential Ingredients Guide for the Perfect Pie Crust
Alright, folks! let’s dive into the world of pie crusts, where the magic happens. you might think, “a pie crust is just a crust,” but trust me, it’s the foundation of any great pie .
Whether you're going for a flaky pie crust for a sweet dessert or a savory quiche, the right ingredients and techniques make a big difference.
So, let’s get into some of the essentials you’ll need!
Premium Core Components
First thing’s first: you gotta know your core ingredients . Here’s what you need in your pie crust arsenal:
- 1 ¼ cups all-purpose flour (150 grams) : You can’t go wrong with this classic for that flaky pastry texture .
- ½ teaspoon salt : This adds flavor for both sweet and savory pies.
- 1 tablespoon sugar (optional) : If you’re making a sweet pie, a bit of sugar can elevate the flavors.
- ½ cup unsalted butter, cold and cubed (115 grams) : This is where you get that flaky texture, folks.
- 3-4 tablespoons ice water : Helps to bring everything together.
Quality Indicators for Each Ingredient
When you’re at the store, look for high-quality butter . i always go for unsalted; it gives you better control over the saltiness.
And don’t forget the flour pick that all-purpose flour without any funky additives!
Freshness Tips and Selection Criteria
- Check the dates on your butter and flour; you want everything fresh for your easy pie crust from scratch .
- When choosing your flour, check it’s stored in a cool, dry place. Trust me, no one wants a dough disaster!
Signature Seasoning Blend
Now that we have the basics down, let’s talk spice! You don’t wanna make just any ol' crust. Spice it up a bit:
- Essential spice combinations : Think about adding a little cinnamon if you’re feeling adventurous with your sweet pies.
- Herb selections and pairings : For savory pies, fresh herbs like thyme or rosemary can make your crust sing!
- Flavor enhancers : A hint of nutmeg never hurt a sweet pie either.
Smart Substitutions
Maybe you’re out of butter or need a gluten-free pie crust recipe? No worries! Here’s where you can get creative:
- Common alternatives : Coconut oil or shortening works great in a pinch.
- Dietary modifications : Need a dairy-free pie crust ? Use vegan butter or even avocado oil.
- Seasonal twists : Use pumpkin spice in the fall for a festive flavor.
Kitchen Equipment Essentials
To nail that homemade pie crust like a pro, you’ll need some trusty tools:
- Mixing bowl : For blending your ingredients.
- Pastry cutter or fork : A must for cutting in butter.
- Rolling pin : Get one that feels good in your hands; it’ll make rolling out your dough much easier.
- Plastic wrap : Essential for chilling your dough and keeping it fresh.
Tips and Tricks for Success
Let’s not forget the finer points:
- Keep it cold! : Make sure your butter and water are icy cold for that no-fail pie crust.
- Don’t overwork it! : Mix just until ingredients come together. Overdoing it leads to tough crusts.
- Chill before rolling : This helps the dough keep its shape.
- Prick your crust : Do this before baking to avoid bubbles. It’s a game changer!
Conclusion
So, there you have it, folks! you’ve got your essential ingredients, smart substitutions, and a rundown of the kitchen tools that will take your pie crust game to the next level.
Whether you’re making a sweet and savory pie crust or a gluten-free pie crust recipe , embracing these tips will not only simplify the process but also heighten the results.
Ready to put all this knowledge to the test with my easy pie crust recipe ? it’s the perfect base for whatever delicious filling you’ve got in mind.
Let’s roll out that dough and get baking!
Perfectly Simple Pie Crust: Flaky and Delicious
Hey there, pie lovers! if you’re anything like me, a good homemade pie crust can make or break your dessert.
No one wants to mess up the foundation of their beloved pies, right? so, let’s dive into the world of pie-making with an easy pie crust recipe that will have you ready to bake like a pro, whether you're whipping up a sweet cherry pie or a savory quiche.
Essential Preparation Steps
Mise en place, y’all! this fancy french term just means getting all your ingredients ready before you start. so, grab 1 ¼ cups of all-purpose flour, ½ teaspoon of salt, and a ½ cup of cold, cubed butter.
Oh, and don’t forget the ice water! it’s crucial for that flaky pie crust we’re aiming for.
Time management is key. Give yourself about 15 minutes to prep and another 30 minutes to chill the dough. Chilling isn’t just for the beverages at a party it's a must for pie dough!
Now, let’s talk organization strategies. Make sure your workspace is clean and tidy. A clutter free kitchen is a happy kitchen. That’s a saying, right? If it’s not, it totally should be!
And please, don’t forget about safety considerations. always be careful with sharp tools like your rolling pin and knife to trim your pie crust edges.
Trust me, the last thing you want is a visit to the er instead of enjoying your pie.
step-by-step Process
Alright, let’s get to the meat (or veggie, if you’re into that) of the matter. Here’s how you’ll make this magical crust:
Combine Dry Ingredients: In a mixing bowl, whisk together the flour, salt, and optional sugar if you’re going sweet.
Incorporate Butter: Toss in that cold butter and use your pastry cutter or fork to blend it all together until you have a crumbly mixture think coarse sand.
Add Ice Water: Now, very gradually add ice water 1 tablespoon at a time. Mix until it starts coming together. You’re on the right track!
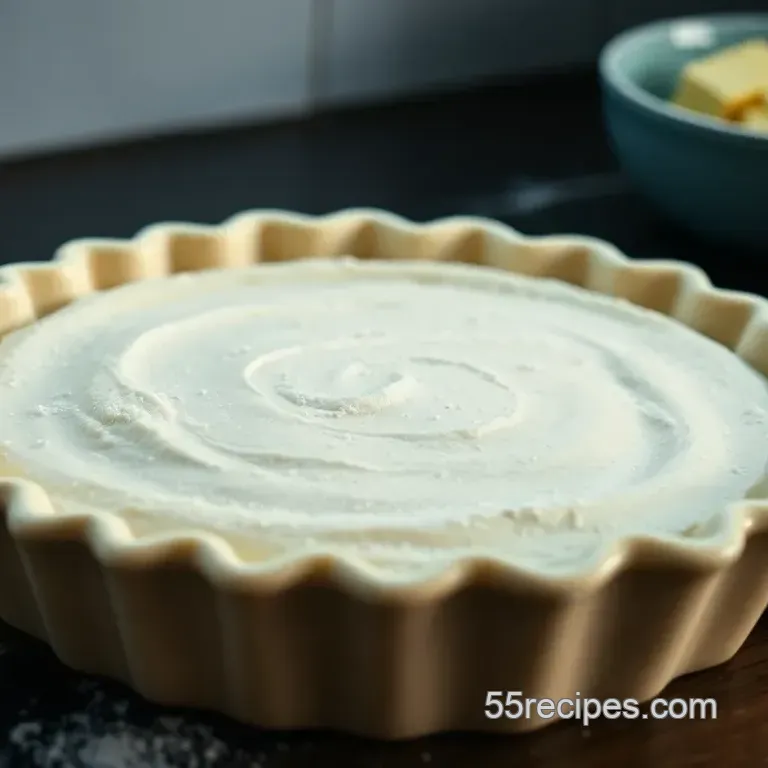
Form the dough: turn the dough out onto a floured surface and knead it gently just enough to hold it together.
Wrap it in plastic and chill in the fridge for at least 30 minutes.
Roll Out Dough: After chilling, roll it out to about 1/8 inch thick go for some serious pie crust yoga here!
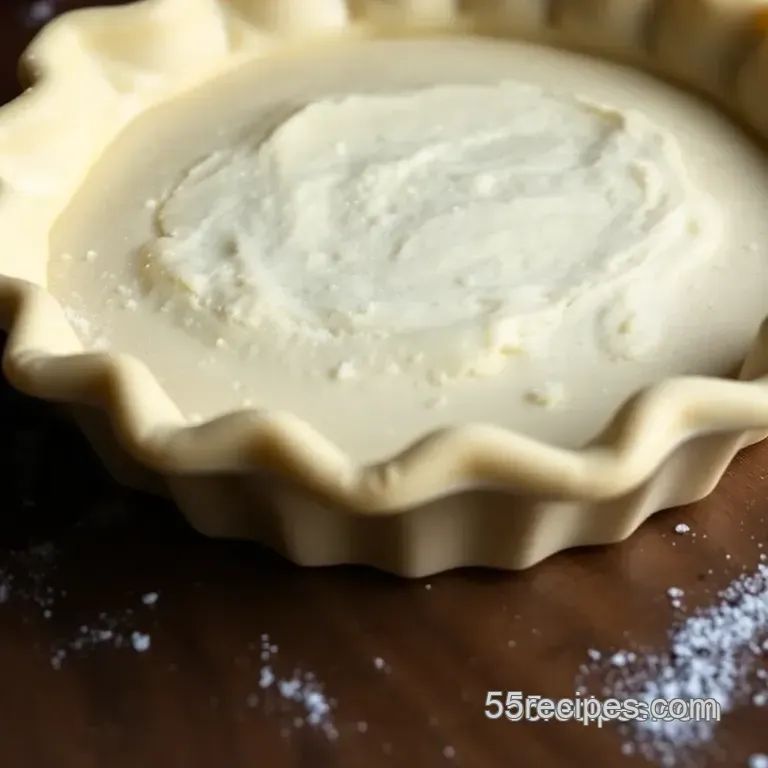
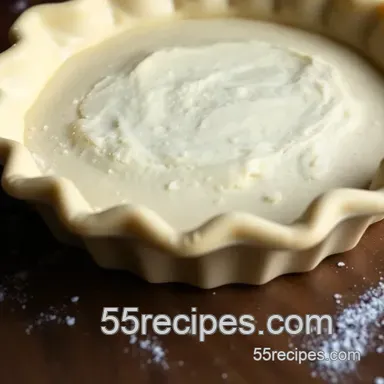
Transfer to Pie Dish: Carefully move that beautiful dough into your pie dish, trimming any excess.
Pre-bake: if your filling needs a pre-baked crust, poke a few holes (like a tiny vent for the crust!) and bake it at 375° f ( 190° c) for 20- 25 minutes until golden brown.
Look for that nice golden color to know you’re there!
Expert Techniques
Listen, if you want a no-fail pie crust, keeping your ingredients cold is a game changer. and remember, don’t overwork the dough; just mix until combined.
It’ll turn out perfectly flaky this way.
Quality checkpoints? You’ll want to feel that crumbly texture before it comes together. Also, don’t skip the chilling step. It helps enhance those flaky pastry techniques we all crave.
Now, if something goes wrong like your dough cracking or being too sticky don’t freak out! Just adjust by adding a bit more flour or chilling it to firm up.
Success Strategies
Let’s wrap this up with some solid success strategies. First, common mistakes to avoid: don’t rush your chilling time! I once skipped this and my crust turned to mush. Ugh!
For quality assurance, always double check your measurements. Accurate measuring ensures that your ingredients work together harmoniously.
Want perfect results? A chilled pastry for pies will yield the flakiest crust. A helpful tip is to use a pre-baked pie shell if you're worried about sogginess.
And if you're like me and love leftovers, consider make-ahead options. You can always prep your dough ahead of time and store it in the fridge for a few days or even freeze it!
Additional Information
Wow, we covered a lot! i hope you enjoyed this little journey into the world of pie crust making. when you get comfortable with this easy pie crust recipe , you might feel inspired to experiment.
Maybe you’ll want to whip up a dairy-free pie crust or try using whole wheat flour for a rustic vibe.
Whatever the case, happy baking, and may your kitchen be filled with the sweet smell of success (and pie)!
Pro Tips & Secrets
Alright, let’s dive into some chef approved tips that’ll take your easy pie crust recipe from basic to totally amazing . first off, keep your ingredients cold .
Seriously, cold butter and ice water are key to achieving that flaky pie crust we all crave. you might even wanna toss your mixing bowl in the freezer for a few minutes before you start.
Sound a little extra? it’s not! it’s a game changer.
Now, if you’re looking to save time and effort, try using a food processor . just pulse your flour, salt, and cubed butter until it resembles coarse crumbs.
Add your ice water in a steady stream. easy, right? plus, this method is quick! no more elbow grease needed.
You want flavor? toss in some herbs for a savory twist or a sprinkle of cinnamon for something sweet. you can also brush the crust with butter or egg wash before baking.
This brings on that golden brown perfection and adds a lovely sheen.
Lastly, when it comes to presentation , don’t sleep on the edges! use a fork to crimp the edges or make a pretty pattern with your fingers.
A little detail goes a long way, trust me!
Perfect Presentation
Presentation can make or break your pie gig. there's something special about serving a pie that looks as good as it tastes.
For a start, let’s talk plating techniques . a round pie dish is a classic, but you can get creative! just remember to clean the edges for a neat finish.
Next, some garnish ideas ! fresh mint leaves or a dusting of powdered sugar over sweet pies can elevate your dessert’s looks.
For savory pies, consider sliced cherry tomatoes or a sprinkle of fresh herbs on top.
Plus, think about color combinations ; the more colorful, the better! A bright berry pie alongside a crisp green salad is just... mmm!
And please don’t underestimate visual appeal ! Serve your pie slices on a bright plate, or use a colorful napkin. Make it pop! It makes sharing on social media way easier too.
Storage & make-ahead
Now, if you have leftovers (or want to prepare ahead), here's how to handle it. storage guidelines are super simple.
Wrap your pie tightly in plastic wrap or store in an air-tight container to keep it fresh. a whole pie can last in the fridge for around 3 to 4 days .
For the crust, if you’ve prepped some dough ahead of time, wrap it tightly and toss it in the fridge.
You can keep it good for about 3 days or freeze it for up to 3 months . just be sure to label it, so it doesn’t get lost in the freezer abyss.
When it comes to reheating , a few minutes in a preheated oven at 350° f ( 175° c) does wonders.
This helps restore that flaky texture . just don’t nuke it in the microwave; nobody likes a doughy crust!
Creative Variations
Let’s talk fun variations . the beauty of the classic pie crust ingredients is that you can swap and play! want a gluten-free pie crust recipe ? use a 1:1 gluten-free flour blend.
Crazy for spice? try adding cinnamon and nutmeg for a sweet pie or a pinch of smoked paprika for something savory.
Feeling festive? Seasonal twists are where it’s at. Think pumpkin spice for fall or berry lavender for summer. You get the idea. Be bold!
And if you want to mix things up even more, consider using nuts for a nut-based pie crust , or try a dairy-free pie crust alternative by substituting the butter with coconut oil.
The possibilities are endless!
Complete Nutrition Guide
Okay, so nutrition is important too, right? While indulging in a beautiful homemade pie crust , you might be curious about its nutritional content. Here’s a quick breakdown:
For each slice, you’re looking at around 150 calories , with about 10 grams of fat mainly from that buttery goodness.
But hey, you’re also getting some carbs, and with variations, you can sneak in some added fiber!
Super fun part? you can make it healthier by swapping in whole wheat flour or adding some ground flaxseed. a tasty pie doesn’t have to be a guilty pleasure.
Just keep in mind portion sizes, because variety is the spice of life!
Just remember, enjoy your creations! Baking is as much about diving into new experiences as it is about the final product.
In closing, whether you're a beginner or a seasoned pro, mastering this easy pie crust from scratch will only add to your culinary repertoire.
So roll up those sleeves and get baking. the world of pie is waiting for you! happy baking, my friend!
Frequently Asked Questions
What is the key to a flaky easy pie crust recipe?
The secret to a flaky pie crust is keeping your ingredients cold, especially the butter. When cold butter is incorporated into the flour, it creates little pockets of fat that expand during baking, resulting in a tender and flaky texture.
Can I prepare the easy pie crust recipe ahead of time?
Yes! You can prepare the pie crust dough in advance. Once you've formed it into a disc, wrap it tightly in plastic wrap and refrigerate for up to 2 days. Alternatively, you can freeze it for up to 3 months, just thaw it in the refrigerator overnight before use.
How can I prevent my pie crust from getting soggy?
To prevent a soggy bottom crust, you can pre-bake it before adding your filling, especially for custard filled pies. Additionally, pricking the bottom with a fork helps steam escape during baking, which also helps keep the crust crisp.
What variations can I make to the easy pie crust recipe?
You can easily customize the recipe by substituting half of the all-purpose flour with whole wheat flour for added nutrition or by adding fresh herbs for savory pies. For a nutty flavor, consider using almond flour as part of your flour mix.
Is it okay to use a different fat in my pie crust?
Absolutely! While butter is traditional for its flavor, you can substitute it with coconut oil or vegetable shortening for a different taste or for a dairy-free option. Just ensure whatever fat you choose is cold before incorporating it into the flour.
How should I store leftover pie crust?
If you have leftover pie crust dough, wrap it tightly in plastic wrap and store it in the refrigerator for up to 2 days. For longer storage, you can freeze it; just ensure it's well sealed to avoid freezer burn, and it will be good for about 3 months.
Perfectly Simple Pie Crust Flaky And Delicious
Ingredients:
Instructions:
Nutrition Facts:
| Calories | 150 |
|---|---|
| Fat | 10g |
| Fiber | 0.5g |
