The Grand Roast Capon: Juicy Meat and Golden Herb Butter Perfection
- The Grand Roast Capon: An Overview of the King of Birds
- Culinary Science: Why This Capon Recipe Guarantees Succulent Success
- Essential Ingredients for the Perfect Capon Roast
- Detailed Notes and Substitutions for Key Components
- Step-by-Step: Roasting Your Capon to Golden Perfection
- Expert Capon Roasting Tips and Troubleshooting
- How to Store and Reheat Leftover Roast
- Suggested Pairings for Roast Capon
- Recipe FAQs
- 📝 Recipe Card
The Grand Roast Capon: An Overview of the King of Birds
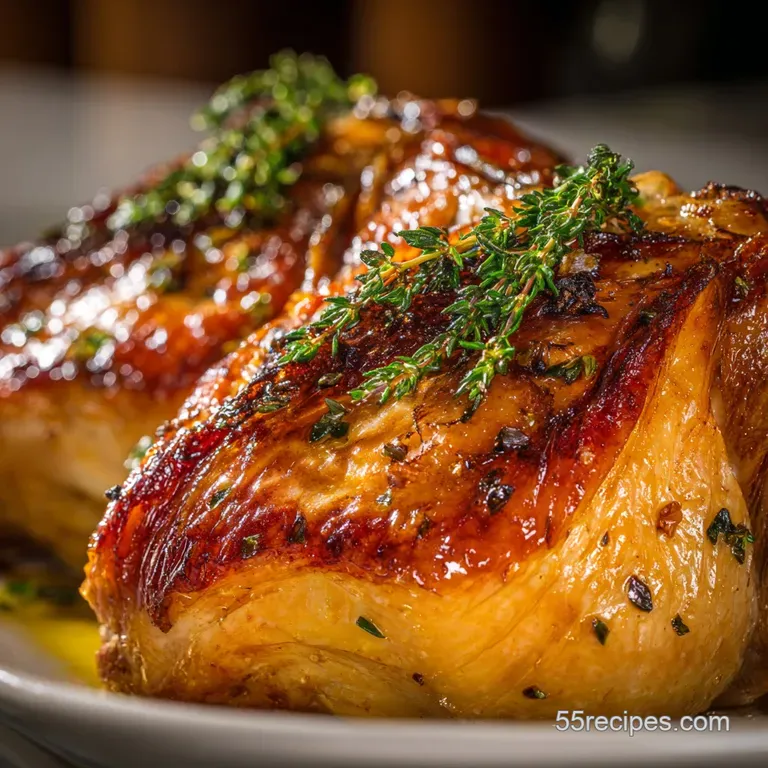
When that Capon finally comes out of the oven, shimmering and deep gold, the house smells like the best holiday memory you’ve ever had. That rich, herb infused steam is incredible. You can literally hear the skin crackling as it rests, which is the glorious sound of victory, honestly.
I know what you’re thinking: Capon sounds fancy and maybe a little intimidating. Relax, because this method takes a huge, fatty bird and makes it absolutely foolproof. It is substantially harder to dry out a Capon than it is standard poultry, making it the perfect showstopper for a big dinner without any high stress drama.
We’re going to use three tiny, powerful tricks that transform this roast from "good" to "absolute legend." Forget wet brines and constant fussing; we are mastering the dry brine and layering butter under the skin. Ready to meet the true King of Roasts? Let’s crack on.
Culinary Science: Why This Capon Recipe Guarantees Succulent Success
What Makes Capon the Ultimate Roast Centerpiece?
A Capon is basically the luxury version of a roasting bird, and its natural physiology is your secret weapon. Because of their higher ratio of intramuscular fat, Capons are naturally shielded against drying out during the long cook time, resulting in supremely tender and flavourful meat.
The added fat bastes the meat from the inside out, making it the most forgiving piece of poultry you will ever roast.
Necessary Prep Time and Expected Yield
Look, the active time here is minimal, only about 35 minutes of actual work, but you must respect the passive time. That mandatory 12 to-24 hour dry brine is the foundation of our success. Plan this roast for a weekend or a holiday when you can start prepping the day before.
This size Capon (4.5 5 kg) will easily feed 8 to 10 seriously hungry people, maybe even providing leftovers for a stellar sandwich the next day.
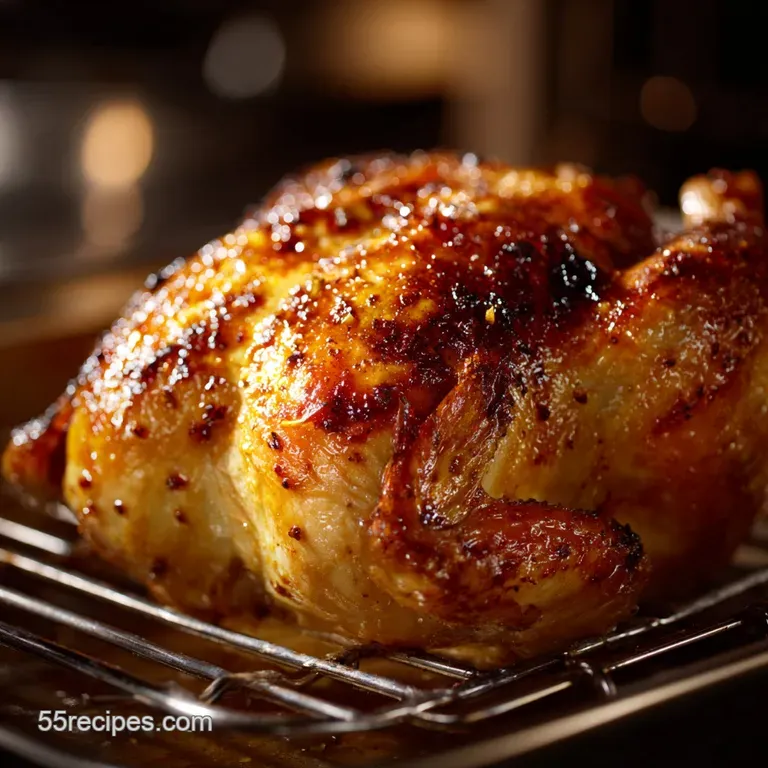
Achieving Maximum Crispy Skin Through Fat Rendering
Crispy skin is non-negotiable, right? The magic lies in two steps: the aggressive dry brine and the high start oven temperature . The salt in the dry brine draws moisture out of the skin, desiccation it perfectly before it hits the heat.
Starting at 220°C (425°F) for 20 minutes melts the subcutaneous fat quickly, rendering it down before the meat is fully cooked, which guarantees a shatteringly crisp texture.
Chef’s Note: Never apply oil directly to the skin before roasting! Oil blocks moisture evaporation, which leads to steaming. Use the herb butter under the skin and allow the skin's own natural fat content to melt and crisp.
Infusing Flavor Deep Beneath the Surface
We don't just season the outside; we flavour the meat directly. By gently sliding our hands under the skin and applying a robust herb butter compound directly onto the breast meat, we ensure intense flavour penetration.
As the Capon roasts, that beautiful butter melts and keeps the breast moist, sinking those thyme and rosemary notes deep into the muscle fibres.
Essential Ingredients for the Perfect Capon Roast
| Component | Ingredient | Quantity | Notes & Usage |
|---|---|---|---|
| Poultry | Whole Capon | 4.5 5 kg (10 lb) | The star! Look for high-quality and even size. |
| Brine | Kosher Salt | 3 tbsp | Non-iodized is best for brining. |
| Aromatics | Unsalted Butter | 225 g (2 sticks) | Must be softened for mixing. |
| Aromatics | Fresh Thyme & Rosemary | 4 tbsp & 2 tbsp | Using fresh herbs makes a huge difference here. |
| Acidity | Lemon Zest | Zest of 2 large | Brightness cuts through the richness. |
| Gravy | Dry White Wine | 1 cup | Sauvignon Blanc or similar light, dry wine. |
Detailed Notes and Substitutions for Key Components
Selecting the Highest Quality Capon
Sourcing a Capon can sometimes be tricky, depending on the season (they are typically easier to find around Christmas). Ask your local butcher well in advance. You want a bird that is uniformly plump and preferably one that hasn't been frozen and thawed multiple times, as freezing can impact the final skin texture.
Components of the Bright Herb Butter
I used to use just dried herbs in my butter big mistake. They taste dusty and don't infuse well. Fresh thyme and rosemary, finely chopped, are essential for that clean, robust flavour. Remember, this butter is mostly seasoning the meat , not just the skin.
Zest and Aromatics Explained
Don't skip the lemon zest! The slight bitterness and intense citrus oils cut through the richness of the Capon's fat beautifully. We place the halved lemon, onion, and garlic head inside the cavity simply for aromatic steam.
This isn't stuffing you're meant to eat, but it fills the cavity with moisture and flavour while it roasts.
Ingredient Quality Notes and Simple Swaps
It happens: sometimes you don't have exactly what the recipe calls for. Don’t panic! This is what works in a pinch.
| Missing Ingredient | Simple Swap That Works |
|---|---|
| Capon | Large Roasting Chicken (3 3.5 kg) or Turkey Crown (adjust cooking time down heavily!) |
| Fresh Thyme/Rosemary | 1 tsp Dried Thyme + 1/2 tsp Dried Rosemary (use less, dried herbs are potent) |
| Dry White Wine (for Gravy) | 1 cup extra Chicken Stock + 1 tbsp Apple Cider Vinegar or Sherry Vinegar |
| All-Purpose Flour (GF Swap) | Cornflour/Cornstarch Slurry (1.5 tbsp powder mixed with cold water) |
step-by-step: Roasting Your Capon to Golden Perfection
The Crucial Pre-Roast Prep and Dry Brining Phase
- Preparation is Everything: Remove the Capon from its packaging and take out all the giblets. Pat the bird down aggressively with paper towels until it feels dry to the touch. Seriously, don't skimp on the toweling.
- The Salting: Liberally sprinkle the entire Capon with Kosher salt, focusing heavily on the thickest parts of the breast and thighs. Use all 3 tablespoons of salt.
- The Nap: Place the seasoned Capon, uncovered, on a wire rack set over a baking sheet. Refrigerate for 12 to 24 hours. This process cures the meat and dries the skin it is the single most important step.
Preparing and Applying the Herb Butter Compound
- Temper and Preheat: Remove the Capon from the fridge one hour before you plan to roast it, bringing it toward room temperature. Preheat your oven to a blasting hot 220°C (425°F).
- Butter Time: In a small bowl, combine the softened butter, lemon zest, fresh herbs, pepper, and sea salt. Mix until it looks like a beautiful green and yellow paste.
- The Secret Rub: Using your fingers, gently run them under the skin, loosening it from the breast and upper thigh meat. Push about 75% of the herb butter mixture underneath the skin, spreading it evenly. Rub the remaining 25% over the outside of the skin and legs.
- Stuff and Tie: Stuff the cavity with the quartered onion, sliced garlic head, and halved lemon. Truss the legs tightly together with kitchen twine and tuck the wing tips neatly underneath the breast.
Staging the Roast: Temperature Cycles for Optimal Results
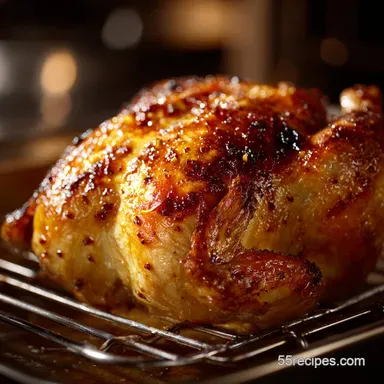
- Initial Blast: Place the Capon on a V-rack in the roasting pan. Pour 1 cup of chicken stock into the bottom of the pan (this prevents drippings from scorching). Roast at 220°C (425°F) for exactly 20 minutes until it looks deeply golden brown.
- Reduce and Cook: Immediately reduce the oven temperature sharply down to 180°C (350°F) and continue roasting for another 3 to 3. 5 hours, depending on your bird's size.
- Monitor the Colour: If the breast starts getting too dark (usually after about 90 minutes), loosely tent it with a piece of foil. You don't want to steam it, just shield it from direct heat.
- Probe the Temperature: Start checking the internal temperature around the 3 hour mark. The thickest part of the thigh must register 80°C (175° F) , and the thickest part of the breast should be 70°C (160°F).
Rest, Carve, and Serve: The Final Steps
- The Mandatory Rest: Transfer the cooked Capon to a cutting board. Tent loosely with foil and let it rest for a full 30 minutes. I repeat: 30 minutes minimum . I once cut into a beautiful Capon after only 15 minutes and watched all the glorious juices flood the board. Don't make my mistake.
- Gravy Power: While resting, use the pan drippings to make the gravy following the instructions in the recipe outline. Deglazing the pan with wine is non-negotiable for flavour!
- Carve: Remove the twine and carve the Capon into pieces. Serve immediately with that silky pan gravy.
Expert Capon Roasting Tips and Troubleshooting
The Importance of Accurate Internal Temperature Probing
A reliable instant read thermometer is your best friend when cooking large poultry; you cannot eyeball doneness here. Probe the thickest part of the thigh, making sure your probe isn't touching the bone. If you hit the bone, the reading will be artificially high.
Preventing Dry Breast Meat
The Capon breast is massive and cooks faster than the legs and thighs. That's just poultry science. If your breast reaches 160°F (70°C) but the thighs are still cold, do two things: Tent the breast heavily with foil , and if necessary, return the bird to the oven breast side down for the final 15 minutes of cooking.
Fixing Skin That Won't Crisp
Did you skip the dry brine? That's usually the culprit. If your skin is still rubbery in the final 15 minutes of cooking, remove the foil tent, raise the oven temperature back up to 220°C (425°F), and monitor it closely for 5– 10 minutes until it snaps.
Common Mistakes and How to Avoid Them
- Mistake 1: Not drying the bird. The fix: Pat it down aggressively, then commit to the full 12 hour uncovered chill in the fridge.
- Mistake 2: Cutting the rest time short. The fix: Set a timer for 30 minutes and walk away. Seriously, go make your gravy or finish plating the sides.
- Mistake 3: Starting the oven too low. The fix: That high initial temperature (220°C / 425°F) is essential for rapid fat rendering and setting the skin structure. Don't start lower!
How to Store and Reheat Leftover Roast
Refrigeration Guidelines and Shelf Life
Once cooled, leftover carved Capon should be stored in an airtight container. It will keep beautifully in the refrigerator for 3 to 4 days. I like to store the meat with a little bit of the pan gravy spooned over it, which helps retain moisture.
Freezing Roasted Meat Safely
Can you freeze roasted Capon? You bet. Carve the meat off the bone first and store it in freezer safe bags or containers, squeezing out as much air as possible. It’s best when consumed within 3 months. When ready to use, thaw overnight in the fridge.
Reheating Techniques
Avoid the microwave! The best way to reheat carved Capon is in the oven. Place the sliced meat in a casserole dish, spoon over a little reserved stock or gravy, cover tightly with foil, and bake at 150°C (300°F) for 15– 20 minutes until just heated through.
Low and slow prevents dryness.
Suggested Pairings for Roast Capon
Capon is rich, deeply flavoured, and demands sides that either match its decadence or offer bright contrast.
- Starch: You need perfect, crispy roast potatoes done in duck fat. Period. Or maybe a silky smooth mashed celery root for something a bit different.
- Green: Simple steamed or blanched green beans, finished with browned butter and toasted almonds, is always a winner.
- Contrast: Because the Capon is so rich, I often like to serve a tart, vinegar based side dish or starter. For a delicious counterpoint, try something robust like My Grandmother's Caponata Recipe: 5 Secrets for Delicious Flavor! . It’s brilliant how the sweet and sour eggplant brightens up the entire meal.

Recipe FAQs
How do I prevent my Capon breast from drying out during the long cook time?
Basting is helpful, but the most effective technique is draping the breast with aluminum foil for the first two-thirds of the cooking process, removing it only for the last hour to crisp the skin. You can also place compound herb butter directly under the skin over the breast meat for continuous moisture infusion.
What is the ideal internal temperature for a safely cooked Capon?
The USDA safe internal temperature for poultry is 165°F (74°C). For large birds like a Capon, remove it from the oven when the thickest part of the thigh registers 170°F (77°C) and the breast registers 160-162°F (71°C).
The temperature will continue to rise 5-10 degrees while resting, resulting in perfectly moist meat.
My skin isn't getting as crispy as I hoped. What went wrong?
Ensure the skin is thoroughly patted dry before applying the herb butter; moisture is the primary enemy of crispiness. Additionally, make sure your oven temperature is high enough a 425°F start is often crucial for setting the skin before dropping the heat for the main cook.
How should I store leftover Capon meat, and can I freeze it?
Refrigerate cooked Capon meat in an airtight container within two hours of cooking, where it will keep well for 3 to 4 days. Yes, you can freeze leftovers; shred the meat, place it in freezer bags, and use it within 3 months for soups or casseroles.
Can I safely stuff the Capon before roasting?
While stuffing adds flavour, it extends the cooking time significantly and must reach 165°F (74°C) itself to be safe, which often leads to overcooked breast meat. For the best results, cook the stuffing separately in a casserole dish and fill the Capon cavity only with aromatics like lemon, garlic, and onions.
What is the difference between roasting a Capon and a standard Chicken?
A Capon has a much higher fat content, larger size, and more robust bone structure than a standard chicken, resulting in substantially richer flavor and juicier meat that is more forgiving to cook.
While you can use this recipe’s flavour profile for chicken, you must significantly adjust the cooking time downward and monitor the temperature closely.
I want to use the drippings for gravy. How do I degrease the liquid effectively?
Capons yield a significant amount of fat, so first let the pan drippings sit for a few minutes to allow the fat to separate and float to the surface. Use a large spoon or a specialized fat separator jug to skim the excess clear fat off the liquid before building your roux for the gravy.
Roast Capon With Crispy Skin
Ingredients:
Instructions:
Nutrition Facts:
| Calories | 600 kcal |
|---|---|
| Fat | 35 g |
| Fiber | 1 g |
