Crispy Baked Coconut Chicken with Garlic
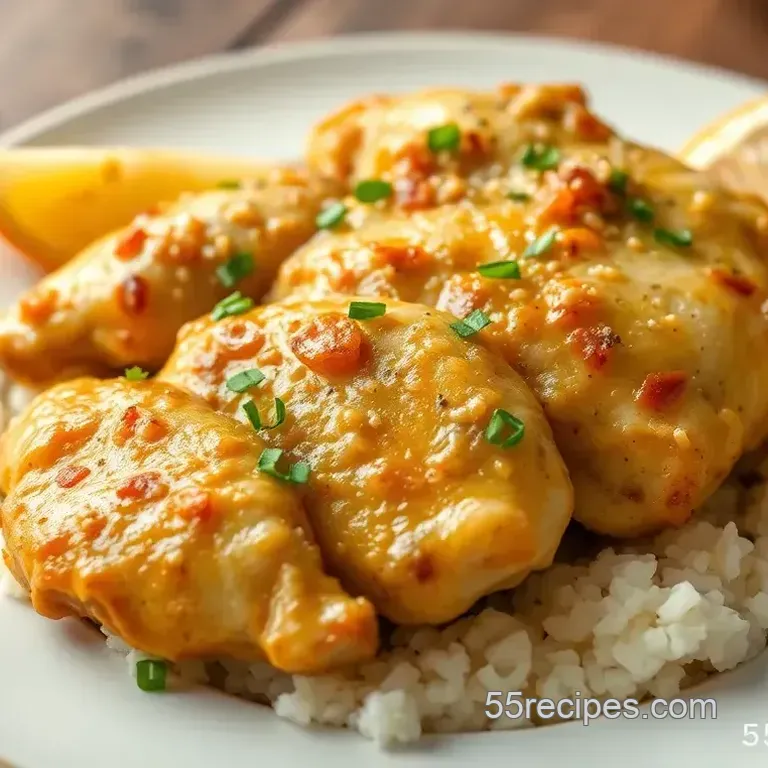
- Time: 15 min active + 15 min baking
- Flavor/Texture Hook: Toasted, nutty crunch with a zesty garlic ginger punch
- Perfect for: Fast weeknight dinners or kid friendly meal prep
That distinct crack of the first bite is everything. Early attempts at coconut chicken using only shredded coconut ended in a soggy, clumping disaster that looked more like porridge than poultry, a complete letdown.
You'll enjoy this effortless recipe for Crispy Baked Coconut Chicken with Garlic & Ginger. It eliminates the sogginess by employing a hybrid crust; the Panko maintains a rigid, golden exterior, while the coconut provides a rich, tropical sweetness.
This version of Crispy Baked Coconut Chicken with Garlic uses a quick marinade to drive the flavors deep into the meat. You get the bold kick of fresh garlic and ginger without needing a long soak. It is a simple method for achieving a gourmet feel with very little work.
Crispy Baked Coconut Chicken with Garlic
Panko Coconut Hybrid: Coconut flakes alone leave gaps where steam escapes and makes the crust wet. Panko fills those holes, creating a solid shield that browns in 15 minutes.
Room Temp Marinade: Letting the chicken sit for 15 minutes allows the salt in the soy sauce to penetrate the meat. This keeps the chicken juicy even at high oven temps.
The Rack Effect: Baking on a wire rack lets hot air circulate under the chicken. This prevents the bottom from getting mushy, which often happens when you bake directly on a pan. If you've ever made my essential baked boneless chicken breast, you know how much a rack helps with consistent browning.
Tools for Easy Cooking
Standard home equipment is all you need. A couple of bowls and a rimmed baking sheet will work perfectly. I typically use a resealable plastic bag for the marinade to save myself from washing extra dishes.
Check that your wire rack fits your baking sheet. If you don't have one, parchment paper is a fine alternative, though you will need to flip the chicken halfway through.
The Full Ingredient List
For the marinade, you'll want fresh aromatics. Using powdered ginger here just doesn't hit the same.
The Marinade
- 1.5 lbs chicken breast, cut into tendersWhy this? Tenders cook evenly and fast
- 1/4 cup light coconut milk (Substitute: Full fat coconut milk for a richer taste)
- 3 cloves garlic, minced (Substitute: 1 tsp garlic powder)
- 1 tbsp fresh ginger, grated (Substitute: 1 tsp ground ginger)
- 1 tbsp low sodium soy sauce (Substitute: Tamari for gluten-free)
- 1 tsp lime juice (Substitute: Lemon juice)
The Breading
- 1/2 cup all purpose flour (Substitute: Almond flour for low carb)
- 2 large eggs, beaten (Substitute: Flax egg for vegan)
- 1 cup Panko breadcrumbs (Substitute: Regular breadcrumbs, though less crunchy)
- 1 cup unsweetened shredded coconut flakes (Substitute: Sweetened, but reduce other salt)
- 1 tsp garlic powder (Substitute: Onion powder)
- 1 tsp paprika (Substitute: Smoked paprika for a woodsy hint)
- 1/2 tsp salt (Substitute: Kosher salt)
- 1/4 tsp black pepper (Substitute: White pepper)
Quick Recipe Specs
Before you start, check your oven. I recommend 400°F (200°C) for that quick sear.
| Goal | What to change |
|---|---|
| Extra Crunch | Increase Panko ratio by 1/4 cup |
| Spicier Kick | Add 1/2 tsp cayenne to breading |
| Lighter Version | Use 1 egg and 1/4 cup water |
The total time from prep to plate is 45 minutes. Most of that is just letting the chicken hang out in the marinade and the actual bake time.
| Method | Time | Texture | Best For |
|---|---|---|---|
| Oven | 15 min | Even, airy crunch | Healthy meal prep |
| Stovetop | 10 min | Heavier, oilier crust | Small batches |
Easy step-by-step Cooking
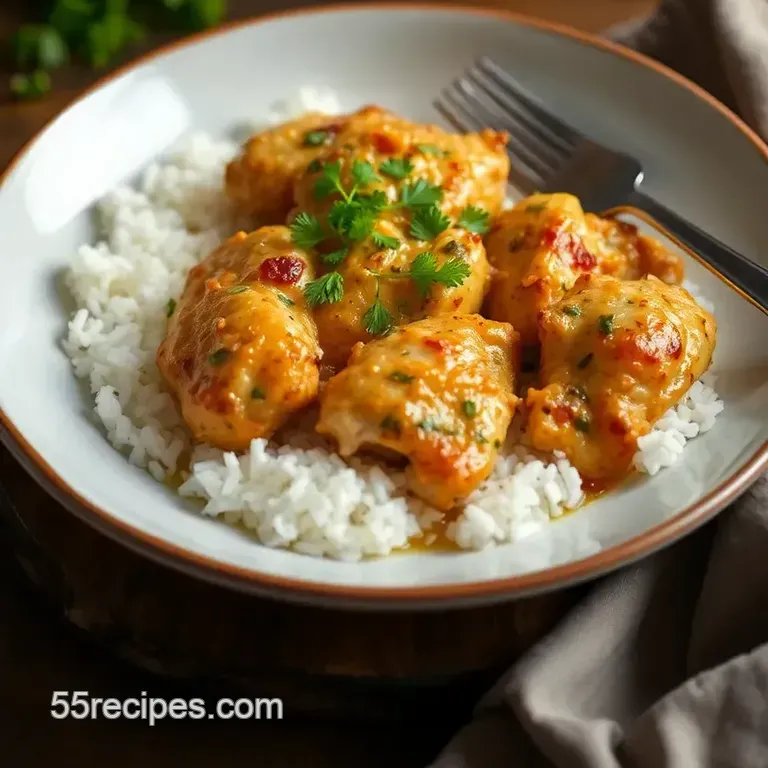
Right then, let's get into it. Grab your bowls and let's get this Crispy Baked Coconut Chicken with Garlic moving.
Phase 1: The Flavor Infusion
- Whisk light coconut milk, minced garlic, grated ginger, soy sauce, and lime juice in a plastic bag. Note: The bag ensures every inch of chicken is covered.
- Add chicken tenders to the bag, shake well, and let sit for 10-15 minutes at room temperature. until the meat looks glossy and coated.
Phase 2: The Triple Dredge Process
- Set up three bowls. Bowl 1: Flour. Bowl 2: Beaten eggs. Bowl 3: Mix Panko, shredded coconut, garlic powder, paprika, salt, and pepper.
- Dust a tender in flour and shake off the excess. Note: Too much flour creates a thick paste that peels off.
- Dip the floured chicken into the egg wash. until fully submerged.
- Press the chicken firmly into the coconut Panko mixture. Use your palm to push the flakes into the meat.
Phase 3: The over High heat Bake
- Place the breaded chicken on a wire cooling rack set inside a rimmed baking sheet.
- Bake in a preheated 400°F oven for 15 minutes. until the crust is golden brown and the chicken is cooked through.
The USDA guidance puts the safe internal temperature at 165°F. Use a meat thermometer to check the thickest part of the tender.
Fixing Common Coating Issues
It's frustrating when you pull the tray out and the breading has slid right off. This usually happens because the chicken was too wet or the flour didn't have a chance to grip the meat. Honestly, don't even bother with low-fat egg substitutes here, as they don't bind as well.
Another issue is the coconut burning before the chicken is done. This happens if your oven runs hot or the coconut flakes are very thin. If you see them browning too fast, drop the temp to 375°F.
If the bottom isn't crispy, you're likely not using a rack. This is similar to making homemade chicken nuggets, where airflow is the difference between a crunch and a soggy base.
| Problem | Root Cause | Solution |
|---|---|---|
| Coating peeling off | Excess marinade or poor pressing | Shake off marinade; press breading firmly |
| Burnt coconut | Oven too hot or thin flakes | Lower temp to 375°F or check every 5 mins |
| Soggy bottom | Baking directly on pan | Use a wire cooling rack |
Saving and Reheating Leftovers
Keep your leftover Crispy Baked Coconut Chicken with Garlic in a sealed container in the cooler for up to 3 days. To keep the crunch, don't stack them too deep or they'll steam each other.
For the freezer, flash freeze the tenders on a tray for an hour before bagging them. This prevents them from clumping into one giant coconut brick. They'll stay good for about 2 months.
When reheating, avoid the microwave. It turns the Panko into rubber. Instead, pop them back in a 350°F oven for 5-8 minutes. This brings back the shatter and warms the center without drying it out.
To avoid waste, use any leftover coconut Panko mixture as a topping for baked fish or tofu. If you have leftover marinade, boil it in a small pan for 5 minutes to create a concentrated glaze for steamed broccoli.
Tasty Flavor Swaps
You can easily pivot this Baked Coconut Chicken with Garlic & Ginger to suit different moods. I love adding a bit of heat to contrast the sweetness of the coconut.
The Spicy Sriracha Twist Mix a tablespoon of Sriracha into the egg wash. It adds a subtle heat that glows through the crust.
The Keto Swap Replace the flour with almond flour and the Panko with crushed pork rinds or extra coconut flakes. It changes the texture slightly, making it more dense, but it keeps the flavor profile of this Coconut Chicken with Garlic & Ginger.
The Zesty Lime Cilantro Version Add finely chopped cilantro to the Panko mixture. This pairs beautifully with the lime juice in the marinade and makes the dish feel like a summer feast.
Best Sides and Pairings
To plate your Crispy Baked Coconut Chicken with Garlic, focus on flavor contrast. Because the chicken has such a rich, nutty profile, pairing it with something zesty and acidic is key.
A basic slaw made from shredded cabbage, a touch of sugar, and apple cider vinegar works perfectly, as the acidity balances the coconut's richness. To complement the meal, serve it alongside steamed quinoa or jasmine rice to catch any remaining dipping sauce.
For the dip, blend sweet chili sauce with a splash of fresh lime juice. This combination of tang and heat highlights the garlic in the breading, giving the entire dish a tropical vibe.
A mango salsa featuring diced red onion, lime, and fresh mango is another fantastic option. The fruitiness complements the coconut, tying the flavors of the plate together.
Now you're ready to start. This Crispy Baked Coconut Chicken with Garlic is a wonderful example of a dish that looks sophisticated but requires minimal effort. Just be sure to press the coating firmly onto the meat and use a wire rack for the best results. Enjoy every crunchy bite!
Recipe FAQs
What is the simplest way to bake coconut chicken?
Dredge marinated tenders in flour, dip in egg, and coat with the coconut-Panko mixture.
Tip: Use a wire rack to keep the bottoms from getting soggy.
Why use Panko in a baked coconut chicken recipe?
Panko fills gaps between coconut flakes to create a more rigid, golden crust.
Tip: Press the coating firmly into the chicken for better adhesion.
Can I add more lime for a coconut lime flavor?
Increase the lime juice in the marinade for a more pronounced citrus punch.
Tip: Pair this with a creamy sauce to balance the acidity.
Will adding garlic powder enhance the taste?
It adds a savory depth that complements the sweet coconut flakes.
Tip: Sift the powder into the Panko to avoid clumps.
Is it true that using only shredded coconut makes the chicken crispiest?
This one's false: Coconut alone often clumps and stays soggy without a binder like Panko.
Tip: Ensure coconut flakes are unsweetened to prevent burning in the oven.
How to prepare the marinade for maximum flavor?
Whisk coconut milk, garlic, ginger, soy sauce, and lime juice in a bowl or bag.
Tip: Let the tenders sit for 10 to 15 minutes at room temperature before breading.
Do I have to deep fry the chicken to get it crispy?
No, this is a common misconception.
Tip: Baking on a wire rack achieves a similar crunch without the oil.
Baked Coconut Chicken with Garlic