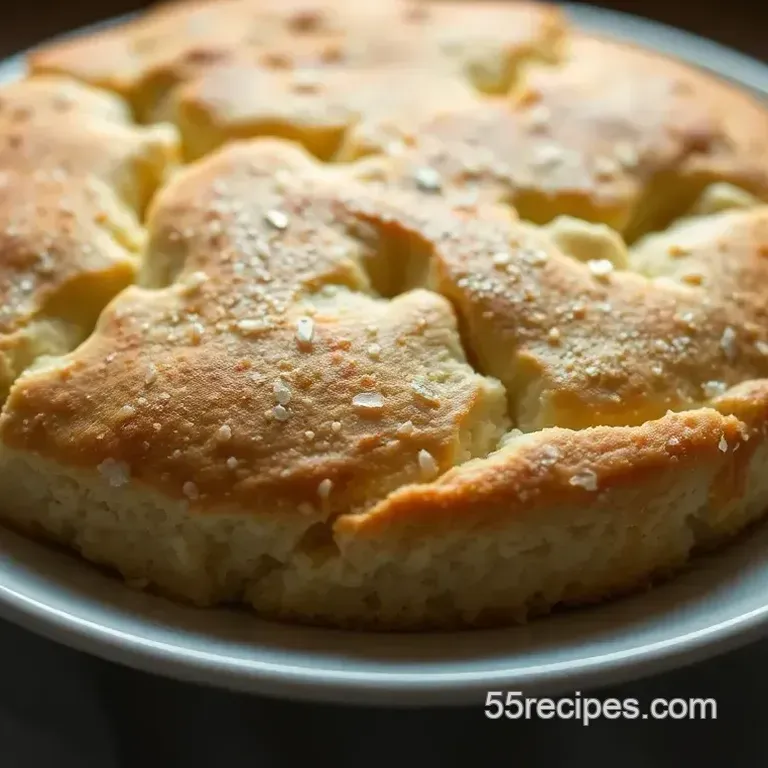
Gluten-Free Communion Bread Recipe: Tender & Tasty
- A Slice of Faith: Baking My Gluten-Free Communion Bread Journey
- The Story Behind the Bread
- The Goodness of Gluten-Free
- Transitioning to the Ingredients
- Your Go-To Essential Ingredients Guide for Baking
- Mastering Professional Cooking: The Essentials
- Pro Tips & Secrets for Your Gluten-Free Communion Bread
- Perfect Presentation of Your Communion Bread
- Storage & Make-Ahead Tips for Your Bread
- Creative Variations to Try
- Complete Nutrition Guide
- Encouraging Conclusion
- Frequently Asked Questions
- 📝 Recipe Card
A Slice of Faith: Baking My gluten-free Communion Bread Journey
Oh my gosh! you ever find yourself at church, during communion, looking at those beautiful loaves but feeling left out because gluten is a no-go for you? i used to be that person until i stumbled upon a gluten-free communion bread recipe that changed everything.
I remember the first time i baked this bread it was a chilly sunday morning, and i wanted to share in the communion experience without feeling isolated.
Spoiler alert: it turned out to be a hit, even among my gluten loving friends!
I think we can all agree that sharing a meal is about more than just eating; it’s about community. this gluten-free option is not only a wonderful alternative for those with dietary restrictions, but it’s also a chance for everyone to gather around the table and enjoy something together.
And can we talk about the texture? it’s light and slightly sweet, which was a pleasant surprise!
The Story Behind the Bread
Did you know that the concept of communion bread dates back centuries? traditionally, it symbolizes sharing and inclusion in a community.
Fast forward to now, and gluten-free recipes have become super popular, making sure no one has to sit out. nowadays, we all want a bread that feels right for the occasion, and this one checks all the boxes.
It takes about 15 minutes of prep time and 30 minutes of baking so it’s pretty simple. plus, you’ll get about 12 pieces , perfect for a small get-together or church service.
And let’s be real. You don’t have to empty your wallet for this recipe! Most of the ingredients you likely already have at home. So it’s a win-win!
The Goodness of gluten-free
Now, let’s talk health. this gluten-free communion bread isn’t just about inclusivity; it also serves up some nutrition. made with gluten-free flour blends , it’s a lighter option that allows everyone to partake in the experience without feeling sluggish.
Oh, and if you’re keeping an eye on your diet, it’s a fantastic choice. with just 150 calories per piece , it’s a delicate balance of flavor and nourishment.
Pairing it with some grape juice or herbal tea can elevate the experience even more. honestly, it’s one of those light bread recipes that’s perfect for gatherings be it a church service or a family brunch.
Unique Features that Shine
One of the notable features of this recipe is how simple it is. seriously the steps are easy enough for those just starting with baking gluten-free bread .
You won’t need advanced skills or a fancy kitchen to get this right. just a mixing bowl, a whisk, and some ensoiasm! the smell wafting through your kitchen while it bakes? pure bliss!
And if you’re serving it for a special occasion or a holiday, it can be the ideal option. inspired by healthy baking practices , it caters to everyone while maintaining that sense of tradition.
It’s like giving a nod to the past while keeping things modern and accessible.
So, whether you’re exploring alternative communion options or simply searching for a flavorful gluten-free recipe , this gluten-free communion bread has got you covered!
Transitioning to the Ingredients
Ready to dive in? let’s talk about what you need to whip up this delicious loaf. grab your measuring cups and your favorite mixing bowl because we’re about to create something special that everyone can enjoy! trust me, the result will be a soft, light bread that warms hearts and bellies alike.
Now, let’s check out the ingredients you'll need to make this blissful homemade gluten-free bread !
Your Go-To Essential Ingredients Guide for Baking
Alright, friends! let’s kick things off with the essentials. if you wanna whip up a gluten-free communion bread recipe or any scrumptious easy gluten-free bread , you need to know your core components .
You know, the "must have" stuff that’ll set you up for success.
Premium Core Components
First up, we’ve got measurements. for all my bakers out there, here’s the scoop. when you're working with gluten-free ingredients , the accuracy is key.
So, whether you're using us measurements or metric , here’s a handy checklist:
- 1 ½ cups (180g) of gluten-free all-purpose flour blend
- 2 teaspoons baking powder
- 1 cup (240ml) of milk (dairy or non-dairy )
And hey, while we’re on the topic, let’s talk quality indicators. Look for brands without fillers. You want that fluffy gluten-free bread texture , right?
Next, let’s chat about storage. gluten-free flours can go stale quicker than you think.
- Shelf Life : Most will last about six months in the pantry but do yourself a favor store them in the fridge for longer life.
- Freshness Tips : Always check for an off smell. If it smells funky, toss it!
Signature Seasoning Blend
Now, what’s bread without a little flavor? Your signature seasoning blend is going to bring everything together.
Think about essential spice combos. a mix of garlic powder, onion powder, and some dried herbs like rosemary or oregano will kick your bread up a notch.
But don’t forget to experiment with regional variations why not throw in some italian herbs for an italian style bread?
And oh, don’t sleep on the aromatics ! Like a little cinnamon if you're feeling sweet, or maybe some cumin for an earthy vibe.
Smart Substitutions
Okay, let’s keep it real. Sometimes you don't have what you need, and that’s totally fine. Here’s where smart substitutions come to save the day.
Let’s say you forgot the gluten-free flour. no sweat! you can use a mix of almond flour and tapioca flour , or even a quinoa flour blend if you’re looking for something unique.
What if you need an egg-free gluten-free bread? Simply swap it with flaxseed meal mixed with water it works wonders! Honestly, it’s like magic.
Kitchen Equipment Essentials
Now let’s get to the nitty gritty your kitchen equipment essentials . Here’s your ultimate list of must have tools:
- Mixing bowl : Big enough for all your mixing shenanigans.
- Whisk or fork : For getting everything mixed up nicely.
- Baking dish or loaf pan : Pour in that dough with confidence!
- Parchment paper : I always go for this to support easy cleanup.
And if you’re tight on cash or space, don’t be afraid to improvise! Maybe you can use a muffin tin to make mini gluten-free bread bites or light bread recipes .
Transition to Instructions
With all this knowledge under your apron, you're ready to jump into action! it’s time to get baking . stay tuned for the step-by-step instructions on how to bring your flavorful gluten-free recipes to life! trust me, this gluten-free communion bread is going to be a hit!
it's not just a substitute; it's a delicious way of including everyone in your special occasions, from church gatherings to family dinners.
So roll up those sleeves, and let’s make some magic happen!
Mastering Professional Cooking: The Essentials
Hey friends! let’s chat about something super important for anyone who’s serious about cooking using professional cooking methods . whether you’re whipping up a classic, like a gluten-free communion bread recipe (more on that in a bit!), or a dish that impresses even the toughest foodie, having a solid game plan can make all the difference.
So, let’s dive into it!
Essential Preparation Steps
You might have heard the term mise en place tossed around by chefs and foodies alike. it’s french for “everything in its place,” and trust me, this is the first step to professional cooking.
Get all your ingredients measured, diced, and ready before you start cooking. this isn’t just a neat freak thing; it saves you from mid-cooking chaos.
Now, let's chat time management. you want to keep your culinary dance smooth, right? try timing your tasks. for example, while your bread is baking (more on that soon!), you could prep your sides.
This helps you stay organized and makes everything flow nicely.
Speaking of organization, clear your workspace! A clutter free counter is like a breath of fresh air when you're cooking. Keep safety in mind always handle sharp knives with care and don’t turn your back on a hot stove!
step-by-step Process
Alright, let’s break it down step-by-step for that gluten-free bread. Here’s how you roll:
- Preheat Oven: First, you gotta fire up that oven to 350° F ( 175° C) . This is a must because you want an even bake.
- Prep Your Pan: Grease a baking dish or line it with parchment. No one likes a sticky mess trust me.
- Mix Dry Goods: In a bowl, whisk together 1½ cups of gluten-free flour blend , 1 teaspoon salt , 2 teaspoons baking powder , and 2 tablespoons sugar . It’s like a dry party before the wet ones join in.
- Mix Wet Goods: In another bowl, combine 1 cup milk , 1 egg , and 1 tablespoon oil until smooth.
- Combine It All: Gradually mix the wet into the dry until just combined. Don't overdo it, or the gluten-free texture turns dense!
- Pour Into Pan: Your batter should go into the prepared dish, and don’t forget to smooth out the top.
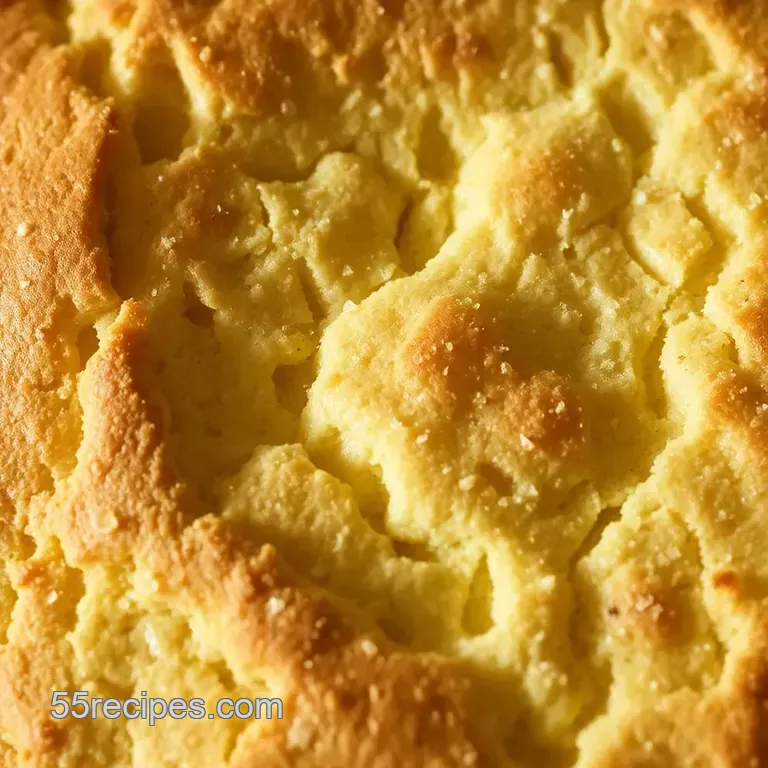
- Bake: Here’s the magic: Bake for 25- 30 minutes . You want it golden brown and a toothpick test to come out clean.
- Cool Down: Let it chill in the pan for 10 minutes before transferring to a wire rack.
Expert Techniques
Now, let's spice things up with some expert techniques . you’re gonna want to check that oven temperature your bread's success rides on it! if it’s too hot, you’ll end with a burnt exterior and mushy inside.
Also, pay attention to timing. Too long in the oven, and you’ll have something drier than Aunt Sally’s Thanksgiving turkey. You want that soft bread texture!
Got any hiccups while baking? If your bread comes out too crumbly, it might be your flour blend. Try mixing in a bit of xanthan gum next time!
Success Strategies
Want to knock this gluten-free bread out of the park? Here are some success strategies :
- Common Mistakes: Don’t skip the room temperature ingredients; cold milk affects how things mix!
- Quality Assurance: Always do a toothpick test for doneness. Seriously, don’t wing it.
- make-ahead Options: You can prep the dough a day in advance and pop it in the fridge. Just remember to let it warm up a bit before baking!
Also, think about those alternative communion options ! This bread can be great for church potlucks, making everyone feel included, even those with dietary restrictions.
Additional Information
Now, you’ve got a solid base on professional cooking methods that’ll elevate your kitchen game. and hey, that gluten-free communion bread recipe? it’s not just about the bread it's about the love you put into it and the community you'll share it with.
Now, go on and bake up some goodness and enrich those church service recipes that everyone will rave about. happy cooking!
Pro Tips & Secrets for Your gluten-free Communion Bread
So, let’s chat about how to make this gluten-free communion bread recipe an absolute showstopper! i’ve spent some time in the kitchen, and i can tell you there are a few little nuggets of wisdom that can make a world of difference.
First off, don't skimp on mixing . when you combine those wet and dry ingredients, give it a good stir but don’t overmix ! overmixing can turn your bread into a dense brick instead of a soft, fluffy treat.
Just combine until you see no dry flour that’s the sweet spot!
Next, if you want to save time, get your ingredients prepped and measured before you start mixing . set them out on the counter; it'll keep you organized and speed up the process.
Oh, and before you know it, you’ll have a delicious loaf ready for your church service.
Want to elevate the flavor? try adding a pinch of garlic powder or italian herbs to the mix. even a touch of cinnamon can create a lovely aroma.
It’s all about enhancing those flavors, you know?
Perfect Presentation of Your Communion Bread
Alright, let’s move on to presentation. It’s often said that we eat with our eyes first. So, here’s how to make your gluten-free bread look fabulous.
When plating, slice the bread while it’s warm but not steaming. a clean knife is essential no one wants that smeared look! for garnish, you can sprinkle some fresh herbs like parsley or chives on top.
It adds a lovely pop of color and freshness.
Color combinations matter too! Serve your bread with colorful accompaniments like homemade preserves or a sprightly salad. Trust me, nothing beats the combo of that soft bread with bright, vibrant toppings.
Storage & make-ahead Tips for Your Bread
You might be wondering how to store this delightful bread, right? once it’s cooled, wrap it tightly in plastic wrap or place it in an airtight container .
It should stay fresh for about 3-4 days . but if you’re like me and you love to plan ahead, you can always freeze it! just slice it first, then wrap it up.
It’ll keep in the freezer for about 3 months .
When it’s time to enjoy again, you can pop the slices in the toaster for a quick reheat. Trust me; there’s nothing quite like freshly toasted gluten-free bread!
Creative Variations to Try
Let’s get wild with some creative twists! if you want to switch things up, consider a dairy-free version using almond or coconut milk instead.
You could even go egg-free if needed; just use a flax egg (1 tablespoon of flaxseed meal mixed with 2.
5 tablespoons of water) instead.
Here’s a fun idea: incorporate seasonal ingredients! in the fall, try adding pumpkin puree and a dash of nutmeg for a festive touch.
In spring, why not fold in fresh herbs or even spinach ?
The great thing about this gluten-free communion bread is its versatility. You could create a sweet version by adding chocolate chips or nuts. It’s all about flavor explorations!
Complete Nutrition Guide
Now, let’s get to the nitty gritty of nutrition. this bread is a great source of complex carbohydrates with about 150 calories per slice.
Not too shabby, right? if you're mindful of your dietary restrictions , this bread is also low in sugar and provides a good amount of protein 4 grams per serving!
Plus, if you choose a gluten-free flour blend with some added fiber, you’re boosting the health benefits even more. It’s all about making those healthy baking practices part of your routine.
Encouraging Conclusion
So there you have it, my friends! this gluten-free communion bread recipe isn’t just a bread; it's an opportunity to bring everyone together, regardless of dietary restrictions.
Whether you're baking it for church, a family gathering, or just because you want a slice of heaven with your coffee, it’s simple and oh-so-rewarding.
Get in that kitchen, use those gluten-free baking tips , and don’t forget to share your creations because everyone deserves to enjoy delicious, homemade gluten-free snacks . Happy baking!
Frequently Asked Questions
What is the best flour to use for a gluten-free communion bread recipe?
The best option is a gluten-free all-purpose flour blend that contains xanthan gum, which helps mimic the elasticity of traditional flour. Brands like Bob's Red Mill or King Arthur Flour have great options! Just make sure to check the label for any potential allergens.
Can I make this gluten-free communion bread recipe dairy-free?
Absolutely! Just substitute the milk with almond, oat, or coconut milk for a delightful dairy-free version. Additionally, using a dairy-free butter or oil will keep the recipe completely cruelty free while still tasting great!
How do I store leftover gluten-free communion bread?
To keep your bread fresh, store it in an airtight container at room temperature for up to 3 days. For longer storage, slice and freeze the bread, wrapping it in plastic wrap and then in a freezer bag; it can last up to 3 months! Just pop it in the toaster when you're ready to enjoy some.
Is it possible to add flavors or ingredients to the gluten-free communion bread recipe?
Definitely! Consider adding herbs like rosemary or thyme for a savory touch, or mix in dried fruits like raisins for a subtle sweetness. Just remember to adjust the wet ingredients slightly if you add a significant amount of extras!
What if my gluten-free communion bread turns out too dense?
If your bread is dense, it might be due to overmixing the batter or using too much flour. Be sure to measure accurately and mix just until combined. If this happens again, adding a bit of extra baking powder or ensuring your baking soda is fresh can help it rise better next time.
Can I make this recipe ahead of time for a special service?
Yes, you can prepare the dough ahead of time and refrigerate it for up to 24 hours before baking. Alternatively, bake the bread and then store it wrapped in foil or in an airtight container. Just reheat it briefly in the oven before serving to bring back the freshness!
gluten-free Communion Bread Recipe Tender Tasty

Ingredients:
Instructions:
Nutrition Facts:
| Calories | 150 |
|---|---|
| Fat | 6g |
| Fiber | 1g |
