Delicious Dairy-Free Candy Corn: a Sweet Halloween Treat!
- Spooky Sweet Beginnings: My Love for Candy Corn
- What’s the Buzz About Candy Corn?
- Why You’ll Love This Treat
- Customization and Creative Fun
- Let’s look into into Ingredients
- The Essential Ingredients Guide: Your Go-To for Sweet Treats
- Mastering Professional Cooking: Tricks for Success
- Pro Tips & Secrets for Making Dairy-Free Candy Corn
- Perfect Presentation
- Storage & Make-Ahead
- Creative Variations
- Complete Nutrition Guide
- Expert FAQ Solutions
- 📝 Recipe Card
Spooky Sweet Beginnings: My Love for Candy Corn
Oh my gosh, can we just take a moment to appreciate candy corn ? i still remember as a kid, trick-or-treating down my neighborhood with a pillowcase in one hand and dreams of getting that colorful candy in the other.
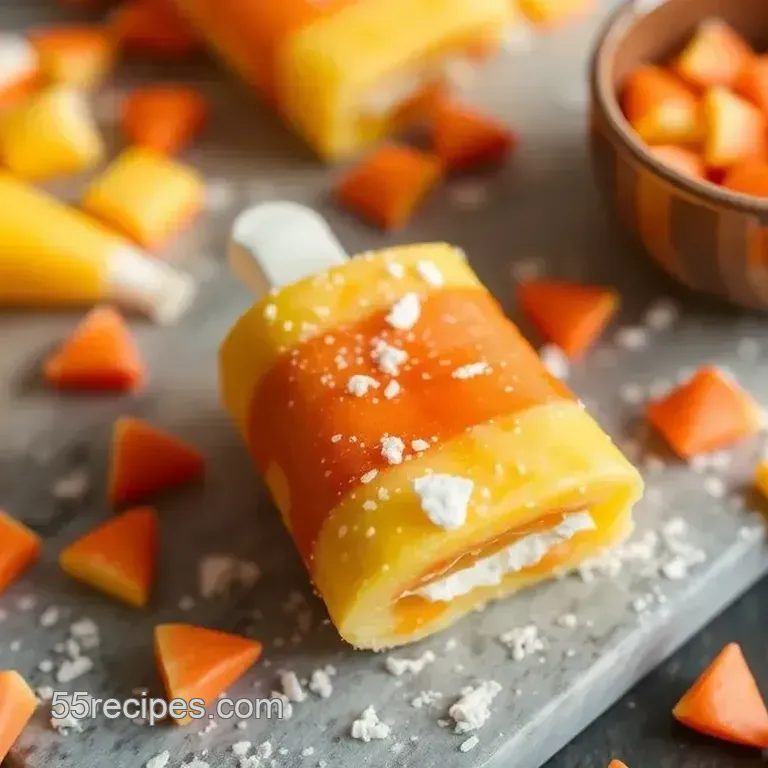
I mean, there’s just something about biting into that chewy, sugary goodness that makes halloween feel like halloween! now, if you’re nodding your head in agreement, you’re gonna love this! today, i’ll show you how to make dairy-free candy corn | fun halloween treat .
Trust me, it's a game changer for anyone looking for dairy-free halloween treats .
What’s the Buzz About Candy Corn?
Did you know that candy corn has been around since the 1880s? yep, it's as vintage as your great grandma's cookbook! this little treat was originally marketed as "chicken feed," and folks back then couldn't get enough of it.
Fast forward to now –it’s still a hit, especially around halloween. with all the buzz about healthy eating these days, making a homemade candy corn recipe that's totally dairy-free feels pretty modern, doesn’t it?
Honestly, this recipe is super easy. you can whip it up in about 55 minutes total, mixing in a little prep time and chill time.
And it yields around 30 pieces, which is more than enough to share or, you know, keep for yourself. no shame!
Why You’ll Love This Treat
There are tons of reasons to get excited about this dairy-free candy ! first off, it’s not just dairy-free; it’s also a great option if you’re looking for vegan candy recipes .
Made with love and wholesome ingredients like coconut cream and maple syrup, this little buddy is surprisingly healthy as far as halloween snacks go.
You can enjoy 70 calories and 1 gram of protein per serving. not too shabby, huh?
This festive candy isn’t just for those spooky parties with all the fun costumes; it’s perfect for school gatherings too! kids love the colorful appearance, and it's a fun kitchen project for families to do together.
The kids can dive into shaping those classic triangular pieces. it’s like art and snacks rolled into one!
Customization and Creative Fun
One of the best parts about making your own candy corn is how customizable it is. want to amp up the flavor? toss in a drop of almond extract or even some peppermint for that fresh twist.
Want a chocolatey surprise? dip them into some melted dairy-free chocolate, and you’ve got a winner!
So, if you want to impress your friends or make some adorable homemade halloween party favors , you’ve got the perfect plan brewing here.
Think of it as your secret weapon for making the best sweet snacks for kids on the block trust me, your neighbors are going to be begging for your tricks!
Let’s look into into Ingredients
Before we get our hands sticky with the diy halloween treats , let’s gather everything you need. i’ll break it down for you in just a sec, but trust me, it’s super simple.
Think powdered sugar, almond flour, and all the colorful goodness you want. you’ll be mixing and rolling your way to some epic candy corn in no time.
Stay tuned for the ingredients you won't want to miss this chance to fill your Halloween with non-dairy delights!
The Essential Ingredients Guide: Your Go-To for Sweet Treats
Let's dive into the world of candy making , shall we? getting your basics right is key to whipping up delicious treats like dairy-free candy corn | fun halloween treat or other easy halloween candy goodies.
So, grab your apron, and let’s get to it!
Premium Core Components
When you're making something as fun as candy corn , it’s all about those core ingredients. Here’s what you need to know:
Measurements: always use exact amounts for a successful recipe. for the candy corn, you’ll want 2 cups (240g) powdered sugar and 1 cup (120g) almond flour .
If you're outside the u.s., that switch to metric makes it just as simple!
Quality Indicators: Freshness is everything! Your powdered sugar should be light, fluffy, and free of clumps. The almond flour should smell nutty and not rancid. No one wants funky tasting candy!
Storage Guidelines: Keep your ingredients on lockdown! Store powdered sugar in a cool, dry place, and it’ll last indefinitely. Almond flour? About 6 months in the fridge helps it stay fresh.
Freshness Tips: Always check expiration dates, and remember that the fresher the ingredients, the better your homemade candy. Trust me; nobody wants the regret of stale sweets!
Signature Seasoning Blend
When it comes to making your homemade candy corn , it’s not just about the base let’s talk flavor!
Essential Spice Combinations: While this treat isn't overly spiced, a pinch of salt elevates everything beautifully. It balances the sweetness like magic!
Herb Selections and Pairings: Consider adding a hint of vanilla extract for a warm touch.
Flavor Enhancers: Just a tiny drop of almond extract can create a surprising twist!
Regional Variations: If you're feeling adventurous, how about pulling inspiration from pumpkin spice season? It could make for a charming fall themed sweet !
Smart Substitutions
Got dietary needs or forgot an ingredient? No problem I've got your back!
Common Alternatives: Have almond allergies? Replace almond flour with finely ground oats for a gluten-free option!
Dietary Modifications: Stick to maple syrup if you're going vegan, or swap it for agave syrup if you're in a pinch.
Emergency Replacements: Ran out of coconut cream? Any non-dairy yogurt will work in a bind.
Seasonal Options: For festive flair, consider adding autumn flavors like pumpkin pie spice or chopped pecans!
Kitchen Equipment Essentials
Every cook needs the right tools.
Must Have Tools: For our candy project, don’t forget mixing bowls, a small saucepan, and measuring spoons. A candy thermometer is optional but nice if you want to get fancy.
Alternative Equipment Options: If you don’t have a candy thermometer, just watch for that warm, gooey stage.
Preparation Tips: Take your time, and let the dough rest for a few minutes before shaping. It's worth it!
Storage Solutions: Store your finished candy corn in an airtight container, and voilà! Fresh candy for days.
Wrapping It Up
So there you have it a deep dive into the nitty gritty of creating the best candy in town! these tips are not just for halloween candy but lovely sweet snacks for kids year round.
Now, let’s get ready to put that knowledge to use! stick around, ‘cause next up, i’m gonna walk you through the step-by-step instructions for making delicious dairy-free candy corn .
This is gonna be a spooky good time!
Mastering Professional Cooking: Tricks for Success
Cooking is one of those delightful experiences that can feel like a dance. when you nail it, it’s pure magic! one major key to getting there is understanding professional cooking methods .
So, let’s break down some essential preparation steps before you get your groove on in the kitchen.
Essential Preparation Steps
First off, there’s this term you’ll hear tossed around a lot mise en place . it’s a fancy french way of saying, “get your stuff together before you start.
” seriously though, chop, measure, and lay out everything you need ahead of time. trust me, not having to scramble for ingredients midway through cooking feels like a gift from the cooking gods.
Now, let’s talk time management . multitasking is your best friend here. get your oven preheating while you prep your veggies or make your sauce.
It saves you a lot of waiting around. a little tip: set timers on your phone or kitchen timer so you don’t lose track of what's cooking.
Next up, organization strategies ! keep your workspace tidy. if your counter looks like a tornado hit it, you’re cooking chaos, not culinary masterpieces.
Use bowls for scraps and a small trash bin nearby, so you’re not tripping over your own mess. and safety? don’t forget it! make sure your cutting board is stable and your knives are sharp nobody wants to play the injured chef.
Step-by-step Process
Alright, let’s get into the fun part: the cooking itself! Here’s an easy step-by-step process to follow:
- Gather Your Ingredients : Don’t skip this step! It’s a must.
- Preheat Your Oven : Aim for 350° F (that’s about 175° C ) for most cake recipes.
- Follow the Recipe : Measure everything, and don’t go off on tangents just yet.
- Check Cooking Temperatures : Be sure to use a thermometer. For meats, think 165° F (about 74° C ) and for cakes, poke that toothpick if it comes out clean, you’re good!
- Use Visual Cues : Look for that golden brown color on cookies or that bubbling sauce; it’s your visual thumbs-up that things are cooking just right!
Expert Techniques
Now, let’s take it up a notch with some expert techniques !
Remember to avoid shortcuts when it comes to critical steps . like letting your butter get to room temperature yes, it does make that cake fluffier! and don’t be shy about checking for quality checkpoints .
Give your sauces a taste test or a quick smell check. if things aren’t smelling divine, they might need some love!
When things don’t go as planned, don’t panic; troubleshoot! If your sauce is too acidic, a pinch of sugar can work wonders. Just try to adjust; cooking is an adventure, after all!
Success Strategies
Nobody’s perfect, and here are some success strategies to keep the cooking journey smooth. first off, watch out for common mistakes, like not reading the entire recipe first.
Seriously, you don’t want to make a dairy-free candy corn when you’ve added milk into the mix.
For quality assurance, always check your seasonings at the end of the cooking process. a sprinkle of salt or a dash of spice can make a world of difference.
Want perfect results ? consider practicing with easy halloween candy recipes, like the dairy-free version to keep it fun and light.
And if you’re planning ahead, think about make-ahead options. dishes like casseroles can be prepped and stored to save time when holiday parties roll around.
Plus, that means you’ll have more time for other festive candy ideas, like the homemade candy corn recipe we’ll get into soon.
Got guests? bring up some fun kitchen projects for families and make a batch together! set aside an afternoon for whipping those up; it’s a great way to bond and get everyone excited about the holidays (don’t forget the natural food coloring options !).
Now, get those taste buds ready as we dive deeper into all things sweet and spooky in the next section: additional information.
We’re gearing up to uncover more tips about creating delightful, dairy-free halloween treats the whole family will love.
Pro Tips & Secrets for Making dairy-free Candy Corn
You know, sometimes you whip up a kitchen project and feel like a total rockstar. making dairy-free candy corn is one of those times! let me share some of my favorite pro tips and little secrets for crafting this colorful halloween treat that will knock the socks off your friends and family.
First, don't underestimate the power of time saving techniques. if you're on a tight schedule, try prepping your ingredients ahead of time.
Measure out your wet ingredients (maple syrup, coconut cream, vanilla) and have your dry ones ready to go. that way, when it’s time to get mixing, boom you’re in business! also, while the dough is chilling, you can clean up!
No one likes a messy kitchen, and you might even have more time to binge your fave halloween movies .
Then there’s flavor enhancement. i’ve found that adding a drop (or two) of almond extract really kicks the flavor up a notch! it’s like a secret weapon in candy making.
Trust me , your taste buds will thank you!
And, hey, let’s talk presentation. you can’t just plop your candy corn onto a plate! pay attention here, because nothing says “i’m a great host!” like good presentation.
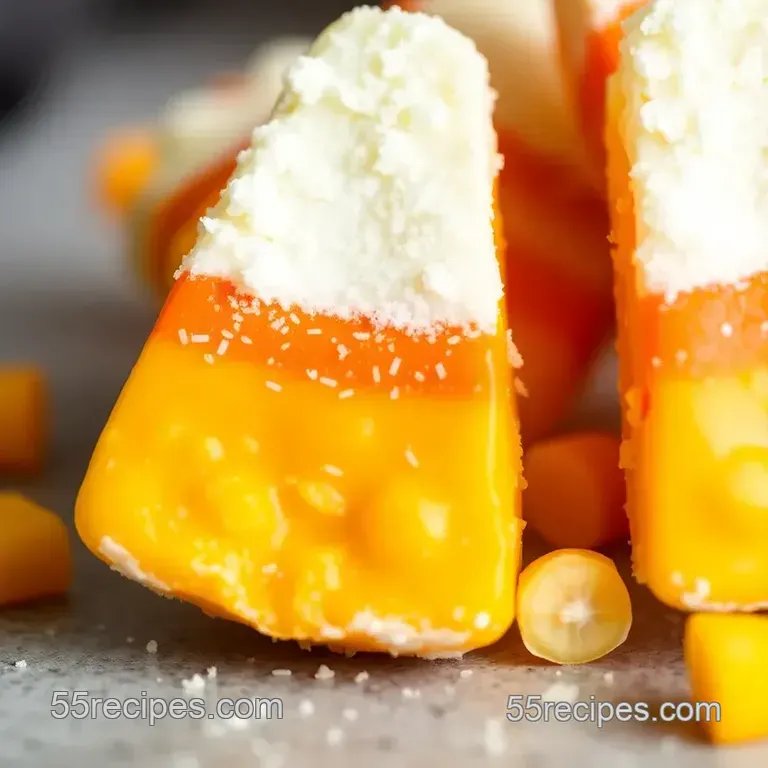
Think color combinations when you’re shaping your candy corn creating gradients of yellows and oranges really elevates your candy game!
Perfect Presentation
When it comes to plating, less is more! a simple trick is to use a clean white plate or a colorful halloween themed one.
The contrast really makes those bright colors pop. you can also sprinkle a little edible glitter or use natural food coloring to give your candy corn some halloween sparkle!
For garnishing, consider placing your candy corn in a glass jar with a cute ribbon tied around it perfect for festive displays.
You can even turn it into a diy halloween treat for parties. just layer it with some gluten-free candy options in a mason jar for a nifty, colorful treat fun and easy!
Storage & make-ahead
Now, onto the practical stuff storage . keep your candy corn fresh by storing it in an airtight container at room temperature.
It’ll last about a week. but honestly, it’s so delicious you might not even see that week! if you make too much (which is never a bad thing), you can also freeze it.
Just pop it in the fridge a day before you want to eat it again.
When it comes to reheating, you won’t need an oven these little guys are best served at room temperature. just make sure to check their texture before indulging.
If they seem a tad too hard after chilling, a few seconds of gentle heating in your hands can work wonders.
Creative Variations
Feeling a little adventurous? try some creative variations on your candy corn. you can add seasonal twists, like pumpkin spice flavors! or go for a refreshing peppermint candy corn for the upcoming holidays.
If you have dietary considerations, toss in a few alternative sweeteners like agave syrup instead of maple syrup.
And if you want to impress your friends even more, dip them in dairy-free chocolate. It’s a fun twist that works so well with the chewy texture.
Complete Nutrition Guide
Let’s chat about the nutrition side of things. yes, those colorful candy corns can be a sweet treat, but they’re also easy on your waistline if you’re mindful about portion sizes.
Each serving has about 70 calories perfect for those craving a little something sweet during the spooky season without feeling overly indulgent.
These little delights also cater to a range of dietary needs. If you’re looking for healthy Halloween snacks , you’ve found them!
Expert FAQ Solutions
Got questions? don’t worry, i got you. one common question i hear is how to avoid the sticky disaster during mixing.
Always make sure your ratios of wet to dry ingredients are spot on, and if it gets too sticky, a sprinkle of powdered sugar can help bring it all together.
Another tip for troubleshooting? If your candy corn doesn’t hold its shape, it might be too warm during shaping. Don’t hesitate to chill it a bit longer!
Making dairy-free candy corn is not just about the candy; it’s about memories too! whether you’re whipping them up for parties or just enjoying a fun kitchen project with the kids , these sweet treats bring a little extra spooky cheer to halloween.
So gather the family, roll up your sleeves, and get crafting! trust me; your homemade goodies will be the highlight of any halloween celebration! happy cooking, friends!
Make dairy free Candy Corn Fun Halloween Treat

