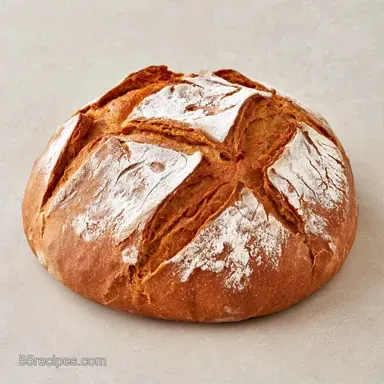
Hearty German Rye Bread
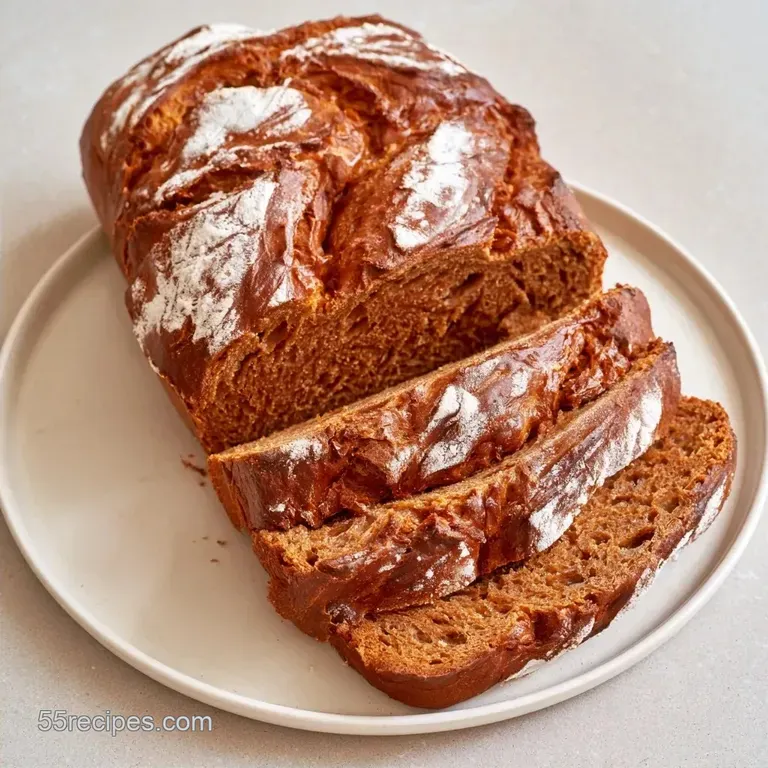
- Time: 60 min active + 2 hours 40 mins rising/baking
- Flavor/Texture Hook: Deep mahogany color with a shattering crust
- Perfect for: Hearty weekend breakfasts or open faced sandwiches
Baking Hearty German Rye Bread at Home
Have you ever wondered why store-bought rye often feels like a dense sponge, while the bakery loaves have that distinct, earthy snap? I spent a while trying to figure that out. I remember making my first attempt and ending up with something so heavy it could have been used as a doorstop.
It was frustrating, but it taught me that rye is a completely different beast than wheat.
The real magic happens when you stop treating it like a standard white loaf. You can't just knead it for twenty minutes and expect a fluffy cloud. Instead, you have to work with the grain.
This version of German Rye Bread uses a specific blend of flours to give you that authentic, rustic feel without the stress of a professional bakery.
Expect a loaf that smells like toasted grain and molasses the second it hits the air. It's a sturdy bread. It holds up to heavy toppings and doesn't get soggy under a slab of butter or a slice of sharp cheese. Let's get into how to actually make it happen.
Why This Loaf Works
- Wheat Scaffold: Pure rye lacks enough gluten to hold air. Adding bread flour creates a structure that lets the loaf rise while keeping the rye's bold flavor.
- Molasses Touch: A bit of molasses provides that deep brown color and a hint of sweetness that balances the natural bitterness of the rye.
- Dutch Oven Steam: Baking inside a heavy pot traps moisture. This keeps the crust soft long enough for the bread to expand before it hardens into a crisp shell.
Essential Gear List
Must Have Tools
You'll need a heavy Dutch oven with a lid. This is non negotiable if you want that bakery style crust. A large mixing bowl and a sturdy wooden spoon also come in handy for the initial mix.
Additional Gear
A digital kitchen scale makes things easier, but measuring cups work fine too. You'll also need parchment paper to prevent the bottom from sticking and a spray bottle for the water mist.
Shopping List Breakdown
For the dough, we use a mix of dark rye and high protein bread flour. The molasses is what gives the bread its characteristic hue.
- 1.5 cups (190g) Dark Rye Flour Why this? Provides the earthy, traditional rye flavor
- 2.5 cups (310g) Bread Flour Why this? Adds the gluten needed for a good rise
- 1.5 cups (350ml) Warm Water Why this? Activates the yeast quickly
- 2.25 tsp (7g) Active Dry Yeast Why this? Reliable lift for a dense dough
- 1.5 tsp (9g) Sea Salt Why this? Controls yeast and boosts flavor
- 1 tbsp (15g) Molasses Why this? Adds color and a rich, malty note
- 1 tbsp (15g) Unsalted Butter, softened Why this? Softens the crumb slightly
- 1 tbsp (15ml) Water Why this? For spraying the crust
- 1 tsp (5g) Sesame seeds Why this? Adds a toasted, nutty finish
| Original Ingredient | Substitute | Why It Works |
|---|---|---|
| Dark Rye Flour | Medium Rye Flour | Similar flavor. Note: Color will be lighter |
| Molasses | Honey | Adds sweetness. Note: Lacks the deep malty color |
| Bread Flour | All Purpose Flour | Works in a pinch. Note: Loaf will be slightly denser |
Timing and Yield
This recipe makes one large, hearty loaf. It's a slower process than a quick bread, but the wait is worth the texture.
- Prep Time: 60 minutes
- Cook Time: 40 minutes
- Total Time: 3 hours 40 mins
- Yield: 1 large loaf
Right then, let's move to the actual process. I've broken this down into phases so you can plan your kitchen flow.
Step by step Method
Phase 1: Activating and Mixing
- Stir together the warm water, molasses, and yeast. Let the mixture rest for 5–10 minutes until a frothy layer appears on the surface.
- In a large mixing bowl, whisk the dark rye flour, bread flour, and salt.
- Add the yeast mixture and softened butter to the dry ingredients. Stir until a tacky, shaggy dough forms. Note: Avoid overmixing; simply ensure no dry flour remains.
Phase 2: Gentle Kneading
- Transfer the dough to a lightly floured surface. Use a stretch-and-fold method for 5 minutes. Note: Rye can become gummy if kneaded like traditional white bread, so handle it carefully.
- Place the dough in a greased bowl and cover with a moist cloth. Let it rise in a warm area for 60–90 minutes until it has doubled in volume.
Phase 3: Shaping and Final Rise
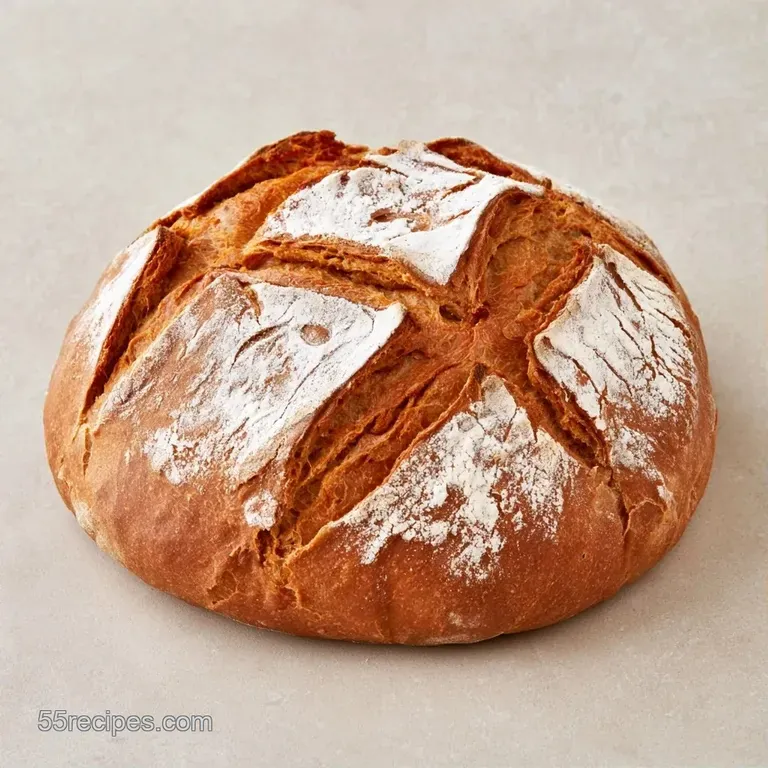
- Lightly press out the air. Using your palms, shape the dough into a tight, round boule.
- Set the boule on parchment paper and cover. Allow it to proof for another 30–45 minutes.
- Preheat your oven to 450°F (230°C) with an empty Dutch oven inside.
Phase 4: The Bake
- Carefully lower the parchment and dough into the hot pot. Mist the loaf with water, add sesame seeds, and bake for 40 minutes until the crust is a rich, dark brown and sounds hollow when tapped.
Pro Tip: Lacking a spray bottle? You can simply flick a few drops of water onto the dough with your fingers just before closing the lid.
Fixing Common Loaf Issues
Rye can be temperamental. The most common issue is slicing into the bread too early. Because of the way rye starches work, the bread continues to "set" long after it leaves the oven. If you cut it hot, the inside can feel gummy or undercooked even if the temperature is right.
Fixing Gummy Crumbs
Wait at least 2 hours before slicing. Patience is the only real fix here. The internal steam needs to redistribute, or you'll end up with a sticky texture.
Preventing Flat Loaves
Check your yeast bloom. If it didn't foam in the first step, your yeast is dead. Also, ensure your rising spot is actually warm, not cold.
Avoiding Burnt Bottoms
If your Dutch oven has a thin bottom, slide a baking sheet on the rack directly below the pot. This deflects some of the direct heat.
| Problem | Fix |
|---|---|
| Gummy Interior | Wait 2+ hours before slicing |
| Loaf didn't rise | Use fresh yeast and a warmer proofing spot |
| Bottom is charred | Place a baking sheet on the lower rack |
Keeping Bread Fresh
Since this German Rye Bread doesn't have preservatives, it stays fresh for about 3 to 4 days at room temperature. Keep it in a paper bag or a bread box. Avoid plastic bags for the first 24 hours, or you'll lose that crisp crust.
For longer storage, slice the loaf first. Freeze the slices in a freezer safe bag for up to 3 months. To reheat, just pop a slice directly into the toaster. It tastes almost fresh baked.
To avoid waste, never throw away the ends. Stale rye makes the best croutons I've ever had. Cube them, toss with olive oil and garlic, and bake at 350°F (180°C) for 10 minutes. They're great in a hearty winter soup.
Easy Flavor Twists
For added flavor and texture, stir a handful of sunflower or caraway seeds into the dry ingredients. Caraway is the classic choice for a more pungent, savory taste.
If you prefer a sweeter loaf, you might enjoy my sweet orange rye bread.
Alternatively, you can replace the bread flour with a spelt flour blend. This will give the German Rye Bread a slightly nuttier flavor, though the rise may be a bit lower. Be sure to keep the rye-to-wheat ratio identical so the loaf doesn't collapse.
What to Serve With It
This bread is a powerhouse on its own, but it really shines with salty toppings. A thick slice of salted butter and a drizzle of honey is a classic start to the day.
For a more traditional German experience, try it with a side of tangy Düsseldorf mustard and some smoked ham. The acidity of the mustard cuts through the density of the rye perfectly.
If you're feeling fancy, make an open faced sandwich. Top a toasted slice with cream cheese, smoked salmon, and thin rings of red onion. The sturdiness of the German Rye Bread ensures the slice won't bend under the weight of the toppings.
Bread Truths
You don't need a sourdough starter to achieve an authentic rye taste. Although professional bakers rely on them, using molasses along with active dry yeast creates a very similar flavor and crumb in a fraction of the time.
Another common misconception is that rye requires heavy kneading for a good structure. Actually, over-kneading leads to a gummy texture because it degrades the pentosans. A few light folds are all that's necessary.
This German Rye Bread focuses on balance. Once you've mastered the Dutch oven steam and the stretch-and-fold method, you'll see that home-baked rye is vastly superior to the packaged options from the store. It's time to gather your flour and begin.
Recipe FAQs
What makes German rye bread different from regular rye?
It generally has a denser texture and a more complex, earthy flavor. The combination of molasses and rye flour creates that signature dark color and richness.
Is it true that you must use a sourdough starter for authentic German rye?
Actually, no. You can achieve a great result using active dry yeast as seen in this recipe.
How to handle the tacky dough during kneading?
Use the stretch and fold technique on a lightly floured surface for five minutes. If you enjoyed working with high-hydration dough here, see how we adapt it for rustic miche bread.
Does German rye bread offer health benefits?
Yes, it is generally more nutrient-dense and has a lower glycemic index than white bread. The dark rye flour provides more fiber to keep you full longer.
Which toppings pair best with this bread?
Salted butter, sliced cheeses, or smoked meats work beautifully. It also tastes great when served alongside a savory main course.
Why did my loaf not rise properly?
Make sure your water is warm but not hot, as boiling water kills the yeast. It also helps to ensure the dough has fully doubled in size during the initial 60-90 minute rise.
German Rye Bread with Thick Crust