Heavenly Fresh Milled Sourdough Bread: a Craft of Cultures
Fresh Milled Sourdough Bread: A Love Story of Yeast and Grains
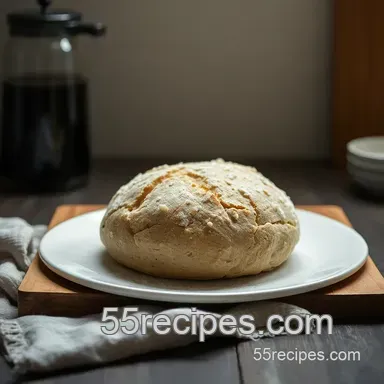
You know that moment when you take a first bite of a warm loaf of fresh milled sourdough bread ? oh my gosh, it just lifts your spirits, right? a couple of years back, i was in my tiny kitchen, slinging flour everywhere, trying to impress family with my baking skills.
I pulled out a crusty loaf from the oven and the whole house filled with the smell of toasty goodness.
Suddenly, i felt like a pro baker! that's honestly the magic of making homemade sourdough bread . it's a labor of love that connects you to ages old traditions.
So, why am i all about this fresh milled sourdough stuff? well, this recipe ties together the art of artisan bread making with the health benefits of milled flour .
It’s rustic and authentic, just like those british loaf recipes i’ve always admired. this bread is perfect whether you're munching on it solo or flexing your charcuterie board skills with it.
It's like the bread is throwing a party, and you’re the star!
Bread with a Backstory
Let's dive a bit into where this all started. sourdough has roots that reach back centuries. it all began with ancient egyptians, who were just trying to make bread like you and i today.
Fast forward, and you’ll see sourdough is back in a big way, especially during these pandemic times when everyone took to home cooking.
Its rise in popularity is fantastic, showing folks just how cool traditional natural fermentation methods can be.
Now let’s talk timing. this isn’t a quick fix expect to put in about 24 hours , including some time for fermentation while you sleep.
Don’t freak out; most of that time is just the dough doing its magic! the actual hands-on time is only about 15 minutes .
So basically, you can make this with your favorite binge watch show playing in the background.
Why This Bread is a Total Winner
Let’s take a sec to appreciate the nutritional benefits of sourdough . with fresh milled flour, you’re packing in whole grains that are loaded with fiber and nutrients.
Plus, this baking journey teaches you about baking temperature for bread and sourdough baking techniques all while offering a wholesome, delightful loaf that does your body good.
This recipe shines during special occasions like brunches or family get-togethers. it's also the perfect excuse to showcase your sourdough bread and cheese pairings skills.
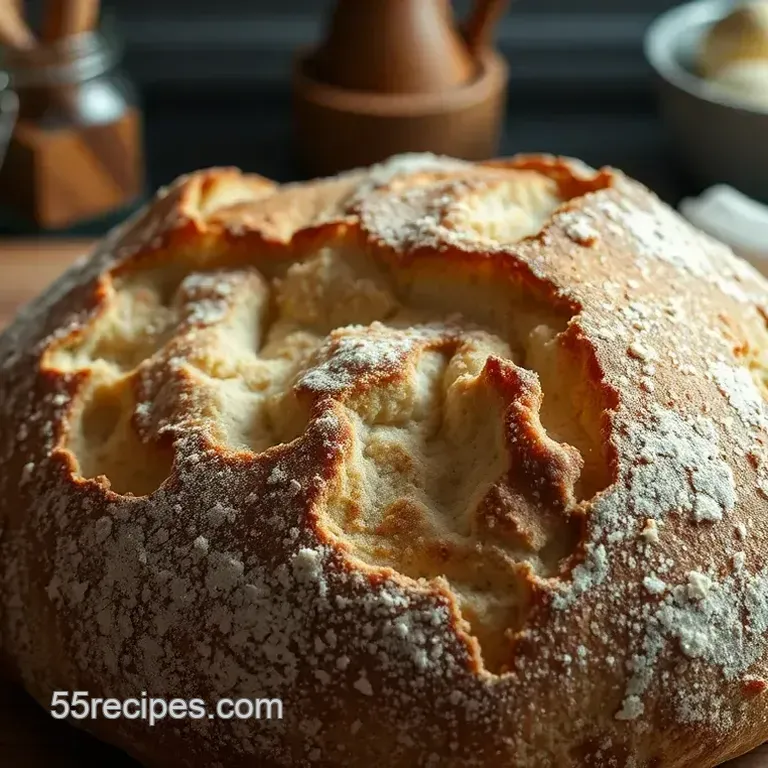
But here’s the deal: this isn’t your average bread. it’s got that crispy crust and a chewy crumb you crave.
Trust me, it’ll make your taste buds dance. compared to other rustic loaf recipes, you’re getting flavors that are authentic and deeply satisfying.
Time to Gather Ingredients
As we roll into the ingredients, here’s a heads up: grab your sourdough starter first. you can find some fun sourdough starter tips online if yours isn’t quite ready.
Remember, using fresh flour is key here the differences are wild! combine that with some love and effort, and you’ll have bread that could put many bakery delights to shame.
Stay tuned as we break down what you’ll need for this brilliant fresh milled sourdough bread recipe . I promise, once you taste it, you'll never want the store-bought stuff again!
The Essential Ingredients Guide for Crafting Heaven
So, you wanna become a bread whiz? i mean, who doesn’t love sinking their teeth into a warm slice of fresh milled sourdough bread ? it’s like a cozy hug from your favorite grandparent but in loaf form.
Let’s unpack the essential ingredients that’ll make your sourdough dreams come true, and trust me, it’s the foundation for that artisan bread making magic!
Premium Core Components
First up, let’s break down the premium components you need.
Measurements : for this heavenly recipe, you’ll need 500g (4 cups) of fresh milled bread flour , 350ml (1.5 cups) of water , 100g (0.
5 cups) of active sourdough starter , and 10g (2 tsp) of sea salt. yep, you need both us and metric measurements.
Because we’re fancy like that!
Quality indicators : when grabbing your ingredients, look closely at your flour. it should be a bit nutty and sweet .
If it smells like cardboard, put it back, friend! and that sourdough starter? make sure it’s bubbling like the excitement when you hit summer break!
Storage guidelines : keep your flour in a cool, dry place, maybe in an airtight container, and it can last up to 6 months.
Your sourdough starter? store it in the fridge, but don’t forget to feed it! it’ll be your best friend in the kitchen!
Signature Seasoning Blend
Now let’s talk flavor! The secret’s in the seasoning blend .
Essential Spice Combinations : While sourdough needs no fancy spices, a little bit of sea salt does the trick.
Herb Selections : You could try adding some rosemary or thyme for unexpected, delightful pops of flavor. It’s like a surprise party for your taste buds!
Flavor Enhancers : Just remember to keep it simple. Sometimes, the best things in life are made with love and a pinch of salt.
Smart Substitutions
Sometimes life hands you lemons, or in this case, uncommon ingredients. No worries!
Common Alternatives : If you’re out of starter, don’t fret. A store-bought one is acceptable, but if you go that route, aim for those with healthy bacteria.
Dietary Modifications : Looking to make a gluten-free sourdough? Use a fresh milled gluten-free blend! Just remember that texture may vary.
Emergency Replacements : Don’t have bread flour? All-purpose flour works! Just know your loaf might not be as happy and chewy , but it’ll still taste alright.
Kitchen Equipment Essentials
Let’s gear up! You don’t need to break the bank to bake some stellar bread.
Must Have Tools : Get a digital kitchen scale (trust me, your bread will thank you). Some mixing bowls, a bench scraper , and a proofing basket are also super important.
Alternative Options : If you don’t have fancy tools, just get creative! A regular bowl for mixing, and a kitchen towel for covering work.
Preparation Tips : Don’t rush it! Fermentation is key to developing those incredible, authentic sourdough flavors .
Storage Solutions : Your baked bread should cool on a wire rack for at least an hour, but feel free to wrap it in a towel afterward to keep it cozy.
Okay, my friend, this is only the appetizer! stay tuned for the instructions section, where we’ll transform these essential ingredients into your easy sourdough bread recipe .
Just imagine biting into that crusty loaf while pairing it with a cheese platter or hearty soup. yum! with a sprinkle of patience, you’ll master the craft of sourdough baking in no time.
Your kitchen is about to get even more delicious!
Mastering the Craft of Professional Cooking: Your step-by-step Guide
Let’s talk professional cooking . think it sounds intimidating? honestly, it doesn’t have to be! by following some essential preparation steps and techniques, you're already halfway to impressing your friends with your killer fresh milled sourdough bread recipe.
This journey begins with just a little organization and planning, and i'll be right there with ya!
Essential Preparation Steps
First off, mise en place . fancy term, huh? it just means “everything in its place.” gather all your ingredients and tools before you start.
Trust me, this will save you from scrambling around like a headless chicken halfway through making your sourdough. you don’t want to be looking for that baking stone when your dough is ready to roll!
Next, we get into time management . knowing your step-by-step process is key! did i mention that your sourdough may take up to 24 hours from start to finish? that’s including the fermentation time.
So, plan ahead! set aside some time during the day to check on your dough.
When it comes to safety , it’s all about keeping your workspace tidy. clean up spills right away. you don't want to face plant into a puddle of flour, right? keeping your hands and surfaces clean can prevent any funky bacteria.
Safety first!
Step-by-step Process
Now, here’s where the magic happens.
Mix the Dough: Combine 500g fresh milled flour and 350ml water in a bowl. Let that sit for 30 minutes . Chill vibes all around!
Incorporate Starter and Salt: Add 100g sourdough starter and 10g sea salt . It’s a little dance of flavors here!
Knead the Dough: On a lightly floured surface, give that dough about 5- 10 minutes of love. It should feel smooth and elastic like a doughy dream!
Bulk fermentation: place in an oiled bowl and cover. you want it to rise for about 4- 6 hours , doing some stretch and folds every 30 minutes for the first two hours.
Yep, it’s a commitment. but totally worth it!
Shape the Dough: After it’s doubled, shape that baby into a round. Let it rest at least 20 minutes .
Final Fermentation: Transfer to a proofing basket and let it rise for 2- 4 hours . Or, if that sounds too quick, throw it in the fridge overnight!
Preheat the Oven: You’ll want a toasty 450° F ( 230° C) . Preheat for at least 30 minutes with your baking stone inside.
Score and Bake: Turn it onto parchment, score and pop it in the oven. Bake for 45- 50 minutes until golden brown.
Cool: Resist the urge to slice right away! Let it cool for at least an hour first.
Expert Techniques
Okay, let’s dive deep into those expert techniques.
Use fresh milled flour for supreme flavor. say goodbye to the stuff sitting on a shelf forever! also, keep your starter active and happy .
An elusive beast, but nurture it right and you’ll get those authentic sourdough flavors you dream of.
As for troubleshooting ? If your dough isn’t rising, check that starter. It might be time for a refresh!
Success Strategies
Now for some real talk let’s discuss common mistakes. over kneading is a no-go. that can lead to some tough bread instead of a light, airy rustic loaf.
Also, don’t rush the fermentation timeline ; it’s that gentle blend of time and temperature that yields the best results.
One of my fave quality assurance tips is to tap the bottom of your loaf. if it sounds hollow, it’s perfecto! and if you want to make ahead? you can always do an overnight ferment in the fridge for an even richer flavor.
See? you’re practically a pro with this fresh milled sourdough bread recipe up your sleeve! and before you know it, you’ll be reveling in that freshly baked bread smell while enjoying some sourdough and cheese pairings .
What a life, right?
Additional Information
As you continue your journey into the world of artisan bread making , there’s always more to discover about sourdough baking techniques and healthy bread options .
Grab a cup of coffee, go online, and connect with the home bread baking community. who knows, you might find a local baking class or a new buddy to swap recipes with! the craft of sourdough baking isn’t just a skill; it’s a heartwarming ritual that connects us all.
Happy baking!
Taste of Terrific Tips & Tricks for Sourdough Success
So you've made your way to this fresh milled sourdough bread recipe ? awesome choice! trust me, diving into artisan bread making is truly like tapping into a secret society of flavor.
Let’s explore some pro tips and keep this bread journey smooth and delicious.
Pro Tips & Secrets
Alright, let’s talk insider secrets. you wanna achieve bread crust perfection , right? start with freshly milled flour. seriously, you won’t believe the difference it makes! the nutty flavor pops, giving your sourdough that real depth and warmth.
Plus, keep your sourdough starter happy and active. a robust starter means better rise and flavor.
Now to save you some time, here’s a trick: do your mixing the night before and let your dough ferment overnight in the fridge.
Trust me, it’ll save you from last minute rushes when you're already running to get that morning coffee fix.
For flavor enhancement, try adding a pinch of garlic powder or some bruised rosemary into your dough. not only do they add an amazing zest, but they’ll also make your kitchen smell like a fairy tale.
Perfect Presentation
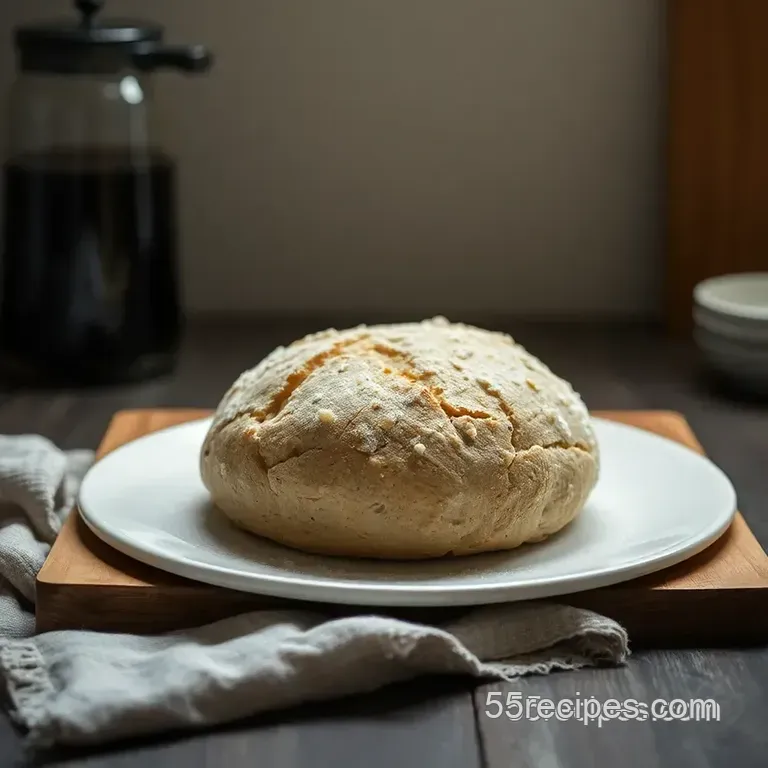
Let’s get real. a beautiful loaf deserves a beautiful plate! so once your rustic loaf is out of the oven, give it a cool down.
When you're ready, use a sharp knife or lame to score a simple design on the top. it looks fancy, and those cuts allow the bread to expand.
For garnish, sprinkle fresh herbs or seeds on top post baking. I love a mix of sunflower and sesame! Add a drizzle of olive oil and there you have it bread that's Instagram worthy!
Storage & make-ahead
You might wanna know how to keep this goodness longer. for short term storage, just keep your bread in a paper bag at room temperature.
A bread box works wonders too! if you're looking to stash it away longer, consider freezing. slice it up first, and wrap each slice individually in plastic wrap.
Simply pull a slice out whenever you need one!
For reheating, just pop it in the oven at 350° f ( 175° c) for about 10- 15 minutes. this will revive that crispy crust you adore! as for freshness, this beauty lasts anywhere from 4-5 days at room temp or up to 3 months in the freezer.
Creative Variations
Now, let’s have some fun with sourdough recipe variations! i often throw in a handful of chopped nuts or seeds into my dough for added crunch and heartiness.
Also, seasonal twists can be a game changer. think pumpkin during fall or a touch of cranberry for a festive vibe in winter.
If you’re juggling dietary restrictions, fear not! Swapping in a gluten-free flour blend can bring that artisan taste without compromising health. Just remember to check your measurements, as these sometimes react differently.
Complete Nutrition Guide
Oh, the health benefits of sourdough are off the charts! when made with freshly milled grain , it offers more nutrients and fiber.
Each slice packs around 6g of protein and is low in fat, making it a healthy bread option . plus, that fermentation process aids digestion, which is a big win!
But how do you portion this loaf? Keep it simple: aim for about 2 slices per person for a satisfying meal, especially if you’re pairing it with cheese or soup.
Wrapping It Up
So there you have it! this fresh milled sourdough bread recipe is more than just a recipe; it’s an adventure into the charming world of bread baking.
With easy steps, a sprinkle of creativity, and these handy tips, you’re on your way to impress not just yourself, but everyone around you! who knows, your kitchen might just turn into the neighborhood's new favorite spot.
Happy baking, my friend!
Frequently Asked Questions
What is the difference between regular sourdough and fresh milled sourdough bread?
Fresh milled sourdough bread uses flour that's ground from whole grains just before baking, which adds a nutty flavor and higher nutrient content. Regular sourdough often uses store-bought flour that might have lost some of its freshness and nutrition.
Think of it as the difference between a warm, fresh biscuit and a pack of biscuits that have been in the cupboard for too long!
How can I ensure my fresh milled sourdough bread recipe rises properly?
Pivotal to the rise is an active sourdough starter make sure it’s bubbly and has been fed around 4-6 hours before you start baking. Also, monitor the fermentation process; it's more about the dough's size and feel than strict timings.
A warm kitchen can help speed things up, so if you're feeling daring, crank up the heat like a lovely British summer day!
Can I make alterations to the fresh milled sourdough bread recipe?
Absolutely! You can experiment by adding seeds for extra crunch, or even incorporate herbs for a more aromatic loaf. Just remember, each addition may affect hydration, so keep an eye on the dough consistency. It’s a bit like adjusting your tea recipe: a splash more milk can make all the difference!
How should I store my fresh milled sourdough bread?
Once cooled, store your sourdough loaf in a paper bag at room temperature for up to three days. For longer storage, slice it and freeze the pieces this way, you'll always have a slice handy for a cheeky toast break! Just pop it in the toaster straight from the freezer; no need to thaw!
What are the health benefits of using fresh milled flour in my sourdough?
Fresh milled flour contains more nutrients, vitamins, and fiber compared to conventionally milled flour. It can also be easier to digest thanks to the presence of natural enzymes. This loaf really is a wholesome treat perfect for those of us keen on maintaining a balanced diet while indulging in some delightful homemade bread!
Can I use a bread machine for this fresh milled sourdough bread recipe?
Sourdough bread is best when it's given some TLC, so while you can use a bread machine for the mixing or baking, the fermentation and shaping stages are crucial for flavour and texture. Think of it as a bit of an artisan experience like brewing the perfect cuppa instead of using a kettle that does it all!
Heavenly Fresh Milled Sourdough Bread A Craft Of