How to Boil a Rutabaga: Foolproof Method
- Time: Active 10 minutes, Passive 20 minutes, Total 30 minutes
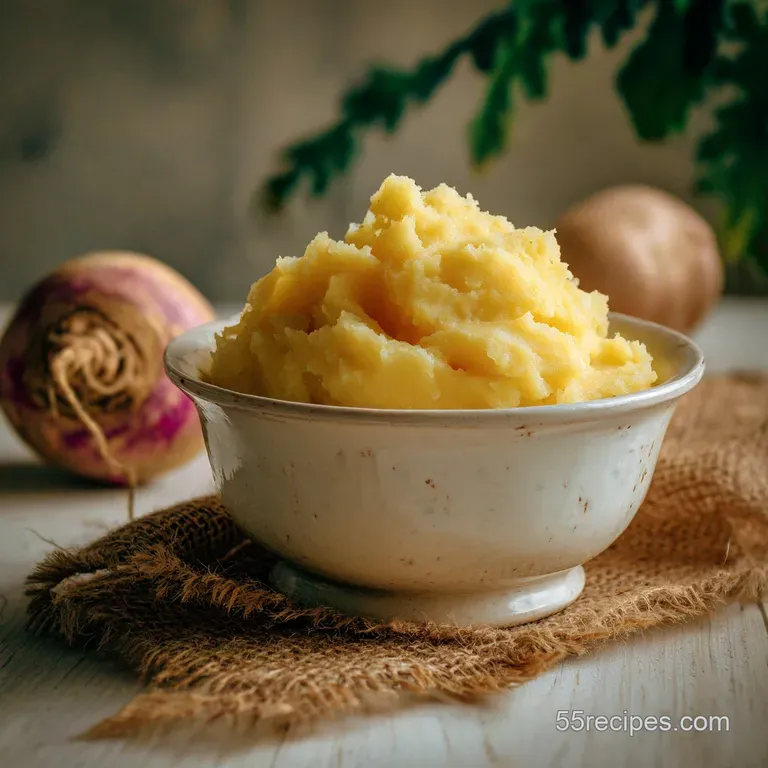
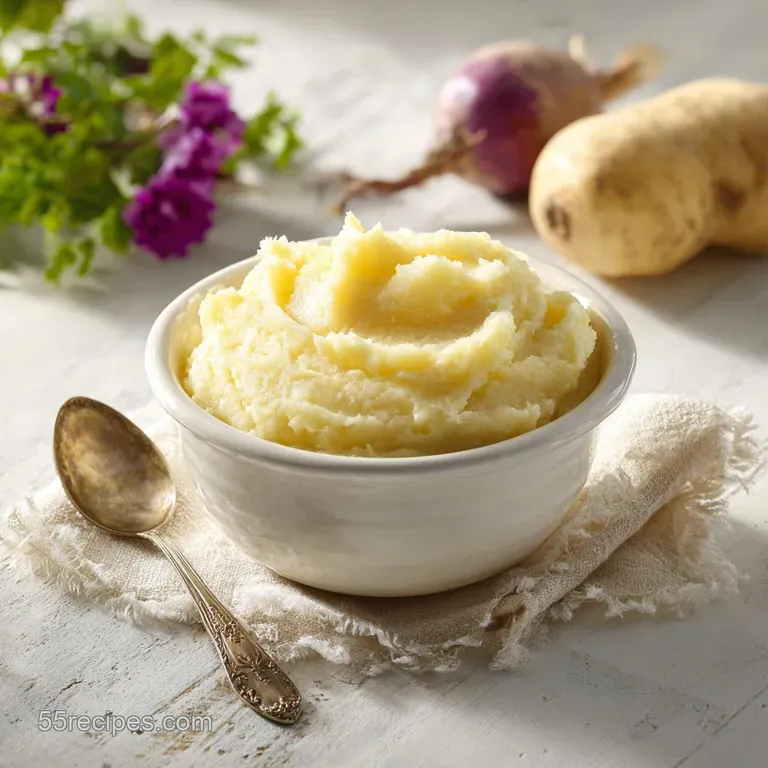
- Flavor/Texture Hook: Earthy sweetness with a velvety, melt in-the mouth finish
- Perfect for: Low carb holiday sides, healthy weeknight dinners, or beginner meal prep
- Learn How to Boil a Rutabaga
- Speed Up Your Prep Time
- The Science of Root Softening
- Essential Ratios for Boiling Pots
- Simple Kitchen Elements Required
- Step by Step Boiling Guide
- Fix Mistakes and Texture Issues
- Smart Swaps for Dietary Needs
- Safe Keeping for Your Leftovers
- Flavor Pairings for This Side
- Recipe FAQs
- 📝 Recipe Card
Learn How to Boil a Rutabaga
I remember the first time I stood in the produce aisle staring at what looked like a dusty, oversized turnip covered in wax. I almost walked away. But my grandmother used to swear by these "Swedish turnips," and the memory of that golden, buttery mash she made on Thanksgiving was enough to make me grab one.
The "thwack" of the knife hitting the cutting board as I tried to peel that beast was a learning curve, but the aroma that filled the kitchen was worth it.
It smells like a cross between a cabbage and a potato, but when you cook it right, it develops this incredible, sophisticated sweetness. If you've only had boiled veggies that were bland or watery, it's probably because they weren't seasoned from the inside out. We are going to change that today.
This isn't just about throwing a root into a pot, it is about treating a humble ingredient with enough respect to make it the star of the plate.
Right then, let's talk about why this method is your new secret weapon. Rutabagas are notoriously dense, which means they can take forever to soften if you don't prep them properly.
My goal is to get you from that wax covered orb to a silky side dish in exactly 30 minutes without breaking a sweat or a fingernail.
Speed Up Your Prep Time
Pectin Management: Adding a touch of acid like apple cider vinegar prevents the vegetable's pectin from breaking down too aggressively, ensuring the cubes stay tender but don't turn into a watery slurry.
Managing Heat Penetration
| Fresh Rutabaga | Frozen Pre Cut | Canned Rutabaga |
|---|---|---|
| Texture: Firm and snappy | Texture: Slightly softer | Texture: Very soft/mushy |
| Flavor: Deep, peppery sweet | Flavor: Milder, watery | Flavor: Metallic undertones |
| Best For: Gourmet mashing | Best For: Quick soups | Best For: Emergency pantry meals |
The key difference between fresh and shortcut versions is the control over the "snap." When you boil a fresh rutabaga yourself, you can pull it off the heat the second a fork slides in without resistance.
Frozen versions often lose that structural integrity during the blanching and freezing process, which is why I always recommend starting with the whole root if you have the time.
The Science of Root Softening
| Component | Science Role | Pro Secret |
|---|---|---|
| Rutabaga | Starch and Fiber Source | Peel deeper than you think to remove the bitter "yellow" ring just under the skin. |
| Sea Salt | Osmotic Seasoning | Salt the water heavily so the flavor penetrates the dense core of the cube. |
| Apple Cider Vinegar | pH Balancer | A tiny amount cuts through the natural bitterness found in older rutabagas. |
| Ghee | Fat Emulsification | The high smoke point and nutty flavor mimic the rutabaga's own earthy profile perfectly. |
Using salt in the water isn't just for flavor, it actually helps break down the tough hemicellulose in the vegetable walls. This means you spend less time boiling and more time eating.
If you've ever had a rutabaga that felt "woody" even after an hour of cooking, it's likely because the water lacked the mineral punch needed to penetrate those tough cells.
Essential Ratios for Boiling Pots
To get this right, you'll need the following specific ingredients. Trust me, the nutmeg is not optional if you want that professional finish!
- 2 lbs rutabaga: Look for one that feels heavy for its size. Why this? Weight indicates high moisture content, meaning it won't be pithy.
- 1 tbsp sea salt: Don't be shy with the salt. Why this? It seasons the water like the sea for deep flavor.
- 6 cups water: Enough to submerge everything fully. Why this? Uniform temperature coverage.
- 1 tsp apple cider vinegar: A secret brightness booster. Why this? Counteracts the alkaline tap water to keep colors vibrant.
- 2 tbsp ghee or grass fed butter: For that silky mouthfeel. Why this? Adds the fat needed for nutrient absorption.
- 1/4 tsp ground nutmeg: The flavor bridge. Why this? Nutmeg highlights the natural sweetness of root vegetables.
- 0.125 tsp black pepper: Just a pinch for a little bite.
Simple Kitchen Elements Required
You don't need a high end kitchen to pull this off, but a few specific tools make the process much safer. A rutabaga is basically a bowling ball with a wax coat, so stability is your best friend here.
For the Boiling Pot
A heavy bottomed pot, like a 4 quart Dutch oven, is best. It holds heat better than thin aluminum pots, which prevents the water temperature from dropping too much when you add the cold veggie cubes.
You will also want a sharp vegetable peeler, but honestly, a sturdy Y peeler is much better for getting through that thick wax than the straight swivel types.
For the Mashed Rutabaga Finish
If you want a truly velvety texture, a potato ricer is a game changer. However, for a more rustic, family style dish, a standard hand masher works perfectly. Just make sure you have a colander ready to go.
One mistake I once made was letting the rutabaga sit in its own steam for too long after draining, which made it soggy. You want a quick, clean drain.
step-by-step Boiling Guide
- Prep the root. Scrub the rutabaga under cold water to remove any dirt from the wax surface.
- Peel deeply. Use your Y peeler to remove the wax and the skin until you see the bright orange yellow flesh. Note: If you leave any white/greenish skin, the dish will be bitter.
- Slice into planks. Cut the rutabaga into 1 inch thick rounds using a heavy chef's knife. Work slowly to ensure the knife doesn't slip.
- Create cubes. Dice the planks into uniform 1 inch cubes. Note: Uniformity is the secret to even cooking.
- Boil the liquid. Combine 6 cups water, 1 tbsp sea salt, and 1 tsp apple cider vinegar in your pot and bring to a rolling boil.
- Simmer the cubes. Carefully drop the rutabaga into the water and reduce heat to medium high.
- Cook 20 minutes. Boil until a fork can be inserted and removed with zero resistance.
- Drain thoroughly. Pour the contents into a colander and let it sit for 60 seconds.
- Steam dry. Return the cubes to the warm, empty pot for 2 minutes to let excess moisture evaporate. This creates a shatter proof, dense mash.
- Season and mash. Add the ghee, nutmeg, and pepper. Mash until the texture is silky and golden.
Fix Mistakes and Texture Issues
One of the biggest hurdles with root vegetables is the water content. If your mash looks more like soup than a side dish, you likely didn't dry the cubes enough after boiling. It's a common slip up, but it's easily fixed by putting them back over low heat for a minute to "sweat" out the remaining water.
Why Your Rutabaga is Bitter
Sometimes, despite your best efforts, the flavor has a sharp edge. This usually happens with older, larger rutabagas that have been in storage for a while. The apple cider vinegar in our recipe helps, but if it's still too punchy, a tiny pinch of coconut sugar can balance the scales without making the dish sweet.
| Problem | Root Cause | Solution |
|---|---|---|
| Watery Mash | Excessive moisture retained after boiling | Return drained cubes to the hot pot for 2 mins to steam dry. |
| Gritty Texture | Under cooked core or uneven dicing | Boil for an extra 5 mins or use a ricer for a smoother finish. |
| Bitter Aftertaste | Peeling wasn't deep enough | Add a teaspoon of heavy cream or butter to mask the bitterness. |
Common Mistakes Checklist
- ✓ Ensure you peel past the "veiny" layer under the skin (it's tough and bitter).
- ✓ Don't start with cold water; wait for the boil to preserve the starch structure.
- ✓ Avoid dicing the pieces too small (less than 1 inch), or they will waterlog.
- ✓ Always let the cubes "steam dry" in the pot for a minute before adding fat.
- ✓ Use grass fed butter or ghee; the flavor is far superior to standard margarine.
Smart Swaps for Dietary Needs
If you are following a specific diet, this recipe is incredibly flexible. While the ghee adds a wonderful richness, you can easily pivot. If you are looking for a spicy twist, topping the finished mash with a bit of Aji Amarillo Sauce recipe adds a velvety heat that cuts right through the earthiness.
| Original Ingredient | Substitute | Why It Works |
|---|---|---|
| Ghee (2 tbsp) | Coconut Oil (refined) | Provides a similar fat profile. Note: Refined oil has a neutral flavor. |
| Sea Salt (1 tbsp) | Pink Himalayan Salt | Adds trace minerals and a slightly mellower saltiness. |
| Apple Cider Vinegar | Lemon Juice | Provides the same acidity. Note: Adds a subtle citrus note to the root. |
When you're scaling this recipe down for a solo dinner, just use half the water and salt, but keep the nutmeg the same it's the soul of the dish! For large crowds, don't double the salt immediately; go to 1.5x and taste. You can always add more, but you can't take it out. If you are boiling multiple items, the technique is similar to our How to Boil recipe, where timing and water ratios are everything.
Safe Keeping for Your Leftovers
Rutabagas are the champions of the fridge. They actually seem to "set" their flavors overnight, making them even better the next day. You can store your boiled and mashed rutabaga in an airtight container for up to 5 days.
When you're ready to eat, a quick zap in the microwave or a stir in a small saucepan with a splash of milk will bring it back to life.
For zero waste, don't throw away those peelings if you've scrubbed the vegetable well before peeling! While the wax isn't great, if you have an unwaxed organic rutabaga, the peels can be roasted into chips.
If yours was waxed, the scraps are unfortunately destined for the bin, but the leftover mash can be folded into pancake batter or used to thicken a hearty beef stew.
Freezing is also an option. I like to freeze the mash in silicone muffin tins to create "pucks." Once frozen, pop them into a freezer bag for up to 3 months. It’s the ultimate shortcut for a Tuesday night when you're too tired to peel anything.
Flavor Pairings for This Side
This dish is a chameleon. It sits perfectly next to a roast chicken or a thick cut pork chop. Because of its natural sweetness, it loves savory, salty partners. I often serve it alongside a bowl of rice using the How to Boil recipe for a filling, vegetarian friendly feast.
If you want to go the Southern route, try adding a few splashes of hot sauce or serving it with smoked ham hocks. The smoky fat from the meat seeps into the rutabaga cubes, creating a flavor profile that is absolutely legendary.
Honestly, don't even bother with low-fat substitutes here; the fat is what carries the flavor of the nutmeg and the earthiness of the root.
The Perfect Texture Decision
- If you want a rustic feel, use a hand masher and leave small chunks.
- If you want a fine dining finish, pass the boiled cubes through a fine mesh sieve.
- If you want a keto friendly meal, mix the rutabaga 50/50 with boiled cauliflower.
The myth that rutabagas are just "bitter potatoes" is totally wrong. When you boil them with salt and vinegar, you’re actually changing the chemistry of the vegetable, highlighting the sugars and softening the harsh sulfur compounds. It's not magic, it’s just good cooking.
Trust me on this once you master the boil, you'll never look at that waxed root the same way again. Happy cooking!

Recipe FAQs
How long should you boil rutabaga?
20 minutes of simmering, plus drying time. Boil uniformly cut 1 inch cubes in heavily salted water until a fork slides in with zero resistance. Always finish by drying the drained cubes in the empty pot for two minutes to prevent a watery mash.
Do you peel rutabaga before boiling?
Yes, always peel before boiling. Peel deeply with a sturdy Y-peeler to remove the waxy exterior and the bitter, often greenish layer just underneath the skin. Only cook the bright orange yellow flesh.
How do you take the bitterness out of a rutabaga?
Add a teaspoon of acid to the boiling water. A splash of apple cider vinegar or lemon juice during the boil neutralizes alkaline flavors that can cause bitterness. If it's still too sharp, finishing with fat like butter balances the flavor profile.
Is boiled rutabaga good for you?
Yes, boiled rutabaga is highly nutritious. It is dense in Vitamin C and fiber, and boiling retains most of these nutrients, especially when you season the cooking water heavily. If you are looking for methods that maximize vegetable integrity, see how we control texture in our How Long to recipe guide.
What uniform size should rutabaga cubes be for boiling?
Aim for 1 inch cubes for even cooking. Consistency is crucial because rutabaga is so dense; uneven pieces mean some will be mushy while others remain tough. Use a heavy knife and take your time when dicing the planks.
Can I skip seasoning the water when boiling rutabagas?
No, heavy salting of the water is non-negotiable. Because the root is so dense, flavor only penetrates the outer layers unless you heavily salt the liquid first, which helps draw the seasoning deep inside the vegetable structure.
What is the trick to preventing a watery rutabaga mash?
Allow the cooked cubes to steam dry after draining. Pour them into a colander, wait 60 seconds, and then return the cubes to the warm, empty pot for two minutes over low heat. This crucial step evaporates surface moisture so your mash sets up rich and velvety.
How To Boil A Rutabaga

Ingredients:
Instructions:
Nutrition Facts:
| Calories | 121 kcal |
|---|---|
| Protein | 2.1 g |
| Fat | 7.8 g |
| Carbs | 15.4 g |
| Fiber | 4.1 g |
| Sugar | 8.1 g |
| Sodium | 640 mg |
