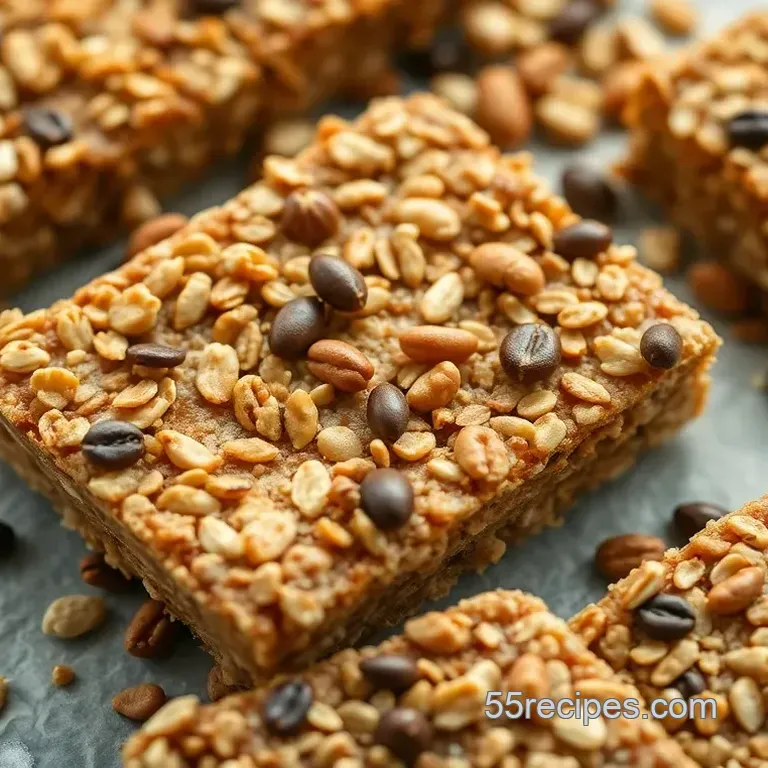
Nutty Energy Bars with Coconut Oil
- A Sweet Start: Discovering Nutty Energy Bars
- Recipe Overview: From Simple to Scrumptious
- Key Benefits: Why You’ll Love These Bars
- Now Let’s Get to the Good Stuff: Ingredients!
- Essential Ingredients Guide to Elevate Your Snack Game
- Mastering Professional Cooking Methods: Energizing Nutty Energy Bars with Coconut Oil
- Additional Recipe Information
- 📝 Recipe Card
A Sweet Start: Discovering Nutty Energy Bars
Oh my gosh, have you ever been caught in that awkward “what do i eat?” moment? maybe you’re in the middle of a netflix binge or rushing between errands, craving something sweet yet somehow healthy? i found myself in this exact scenario last week.
I raided my pantry and found a hodgepodge of nuts, seeds, and a little coconut oil hiding in the back.
That’s when the idea hit me why not whip up some nutty energy bars ?
These bars and oil combo magically come together into a snack that’s not only energizing but also tastes fantastic. they’re homemade snack bars that’ll keep you fueled for whatever life throws your way.
Plus, i promise it’s easier than microwaving leftover pizza!
Recipe Overview: From Simple to Scrumptious
Let’s travel back in time for a hot sec. energy bars have their roots in the simple, practical food of the 1980s.
Athletes and fitness folks started putting together those carbs and proteins on-the-go. fast forward to today, and guess what? these bad boys are everywhere grocery shelves, local cafes, you name it.
But i’ve gotta say, not all are created equal. some are loaded with crazy amounts of sugar!
Lucky for you, this nutty energy bar recipe is as easy as pie. well, easier actually no-bake energy bars mean less mess and no evil oven to deal with! with about 45- 75 minutes total (including chilling time), you’ll end up with about 12 bars of crunchy goodness that won’t break the bank.
Seriously, these will cost you a fraction of what you'd pay for a box of store-bought bars.
Key Benefits: Why You’ll Love These Bars
Okay, so what’s in these magic nut bars with chocolate ? first off, let’s talk about coconut oil benefits . this stuff is a natural way to bulk up your bars, providing healthy fats that leave you feeling satisfied.
Pair that with plenty of nuts and seeds, and you’ve got yourself a protein rich snack that’s not only tasty but also good for you.
And just think about it these bars are gluten-free energy bars , ideal for those of us looking to cut back on gluten.
If you’re prepping for a workout, these are a solid option. let’s be real, munching on one of these before a gym session is way better than a candy bar! who wouldn’t want an energy boosting snack that’s nutritious and delicious?
They’re also perfect for special occasions, like a family picnic or road trip snacks. plus, you can tweak the ingredients to suit your crew.
Imagine adding some dried fruit for a tropical twist or throwing in some dark chocolate chips for that indulgent touch (and trust me, it’s heavenly!).
The customization options are endless. Whether you prefer vegan energy bars or want to make nut-free snack alternatives , this recipe has your back.
Now Let’s Get to the Good Stuff: Ingredients!
So now that you’re all in, let's dive into what you’ll need to make these tasty treats. grab your favorite nuts, some rolled oats, and that trusty coconut oil.
With just a few simple ingredients, you’re on your way to preparing some amazing homemade energy bars!
Of course, experimenting with flavors is half the fun. Remember, this is all about creating your ideal snack. So, let’s get cooking! Grab your mixing bowl and let’s make some Nutty Energy Bars that are sure to impress whether it’s just for you or to share with friends (if you decide to share, that is)!
Essential Ingredients Guide to Elevate Your Snack Game
Ready to jazz up your kitchen with some essential ingredients? let’s equip you with everything you need to whip up delicious snacks that are not just tasty but also loaded with nutrition.
Whether you’re going for nutty energy bars or homemade snack bars , this guide will get you the goods!
Premium Core Components
When it comes to making those avocado toast levels of good snacks, you gotta have the right stuff. For our Nutty Energy Bars , here are some must haves:
- Rolled Oats: Buy them in bulk if you can! You’ll need 1 ½ cups (150g) . They’re the backbone of our energy bar.
- Mixed Nuts: Grab 1 cup (150g) of almonds, walnuts, or cashews whatever you adore. Look for fresh ones; make sure there are no soft spots.
- Pumpkin Seeds: At ½ cup (80g) , these crunchy beauties give a satisfying bite.
- Sweetener: Honey or maple syrup, ½ cup (135g) , is your best bud here. Opt for raw honey for bonus nutrients.
- Coconut Oil: Need ½ cup (120ml) of this gem, melted of course! It's a superstar, helping bind everything together and adding rich flavor. Coconut oil benefits are legit!
Not sure how long to keep these? Most ingredients can last months if stored properly. Keep them in airtight containers in a cool, dark place.
Signature Seasoning Blend
Now, let’s add some sizzle with our signature seasoning blend. Don’t skip this part. A little sprinkle of sea salt goes a long way just ½ teaspoon should do.
You might also want to join the chocolate bandwagon with ¼ cup (40g) of dark chocolate chips or throw in some dried fruit for a bit of tang.
Mix it up according to your taste!
Smart Substitutions
We all have days when we realize we're missing an ingredient, right? Not to worry!
If you don't have coconut oil , opt for unsalted butter or a different oil like canola. honey? you can swap in agave for a vegan twist.
And if you’re nut-free, dive into seeds like sunflower or hemp for your nut bars with chocolate they’re just as delish!
Kitchen Equipment Essentials
To make those no-bake energy bars , you’ll need some kitchen must haves :
- Mixing Bowl: Gotta have a big one to mix everything up.
- 9x9 inch (23x23 cm) Pan: This is where all the magic happens.
- Parchment Paper: Good ol’ parchment makes cleanup a breeze. Don't sleep on it!
- Spoon or Spatula: For all the folding and mixing.
When prepping, remember to, pack the mixture tightly in the pan. This ensures your bars don’t fall apart later!
Bonus Tips
Storing your creations is just as crucial! Keep those energy bars fresh by popping them in an airtight container. They’ll last up to a week, or freeze them for longer life.
Don't forget to taste along the way. adjust sweetness or texture by adding a bit more honey or coconut oil if needed.
Meal prep snacks can be a breeze if you let your creativity flow.
Oh my gosh, can you just imagine snacking on these after a workout? Or while binge watching your favorite show? Super satisfying!
So as we wind down this essential ingredient chat, let’s dive into the instructions on how to pull all these fabulous ingredients together into those tasty nutty energy bars.
Get ready to unleash the good vibes in your kitchen! happy cooking!
Mastering Professional Cooking Methods: Energizing Nutty Energy Bars with Coconut Oil
Alright, my food loving friends, let’s dive into the world of professional cooking methods with a super simple and nutrient packed recipe: nutty energy bars with coconut oil .
Seriously, these bars are the bomb for meal prep and make for a great snack when you’re on the go.
Plus, they’re a total win for those looking for healthy snack recipes . ready? let’s roll!
Essential Preparation Steps
Mise en place is key. before you even think about mixing anything, gather all your ingredients. trust me, prepped and ready is the name of the game here.
You don’t want to be scrambling for honey when your nuts are getting toasty in the frying pan!
Next up, let’s chat about time management . you’ll want to spend about 15 minutes prepping, and then let those bars chill for 30 to 60 minutes .
This gives you some downtime, perfect for cleaning up or relaxing with a good show.
Get yourself organized! have all your equipment ready: mixing bowls, spatulas, and a trusty 9x9 inch baking pan lined with parchment paper .
This step saves you time later and keeps your kitchen from looking like a tornado hit it.
And don’t forget safety. working with melted coconut oil can be tricky. if it’s too hot, it can splatter. let it cool a bit before adding it to your bowl.
Safety first, right?
Step-by-step Process
Here’s where the magic happens.
Mix the Dry Ingredients: In a large bowl, combine 1 ½ cups rolled oats , 1 cup mixed nuts , and ½ cup pumpkin seeds .
Combine the Wet Ingredients: In another bowl, whisk together ½ cup melted coconut oil , ½ cup honey , 1 teaspoon vanilla , and ½ teaspoon sea salt .
Merge It All: Pour that sticky goodness into the dry mix and combine until everything’s coated.
Press It Down: Transfer the mixture into your prepared pan and press firmly. You want it packed tight; this is the key to keeping your bars together.
Chill Out: Refrigerate for 30 to 60 minutes . This step is super crucial; it helps them set.
Cut & Serve: When they’re chilled and firm, lift them out with that parchment overhang , slice into rectangles, and enjoy.
Remember, these bars should reach that firm texture, so don’t cut them too early! Visual cue: they should be set but not rock like.
Expert Techniques
Looking for ways to amp things up? Let’s get into some pro tips.
You can definitely customize these nut bars with chocolate or throw in some funky add-ins like dried fruit or even protein powder to cater to your personal taste or dietary needs.
It’s all about experimenting!
Quality checkpoints? make sure your mix sticks together nicely. a dry mix is harder to cut and might crumble. if that happens, don’t panic! add a bit more coconut oil to help them cling together.
Trick of the trade? Let the bars cool completely before cutting. It gives you those neat edges you see in fancy stores!
Success Strategies
Now let’s chat about what not to do. One common mistake? Skipping the chill time. Don’t skip it! Your bars will fall apart.
And about quality assurance? taste your mix before chilling! give it a try it's way easier than figuring out if it’s good once it’s set.
Balance is key; if it’s too sweet, a pinch of salt can really bring things back.
Make-ahead options are a lifesaver here. these bars will keep in an airtight container for about a week, or you can freeze them for longer storage.
Perfect for those busy days when you need an energy boosting snack right away!
Honestly, once you get the hang of this simple recipe, you might find yourself whipping up different variations. coconut oil is a total game changer for those looking for gluten-free or vegan energy bars .
It adds that luscious tropical twist.
Alright, my fellow snack ensoiasts, there you have it! look into into this simple, nutty energy bar recipe and enjoy a munch that’s not just tasty but also fulfilling.
Stay tuned for the next section: Additional Information that will take your energy bar game to the next level!
Additional Recipe Information
When it comes to whipping up your own nutty energy bars with coconut oil , the little details can make all the difference.
Ready to elevate your snack game? let’s break it down!
Pro Tips & Secrets
First things first, let's talk about some pro tips that will transform your bars from good to legendary. chef’s personal insights ? always pack your mixture tightly.
Seriously, it makes a world of difference those bars will hold together beautifully. as for time saving techniques , there’s no baking here! so you can focus more on your busy day and less on the oven timer.
For flavor enhancement , don’t hesitate to get creative! adding spices like cinnamon or even a dash of nutmeg gives your bars a special zing.
And a little sprinkle of salt can help bring out those sweet flavors trust me!
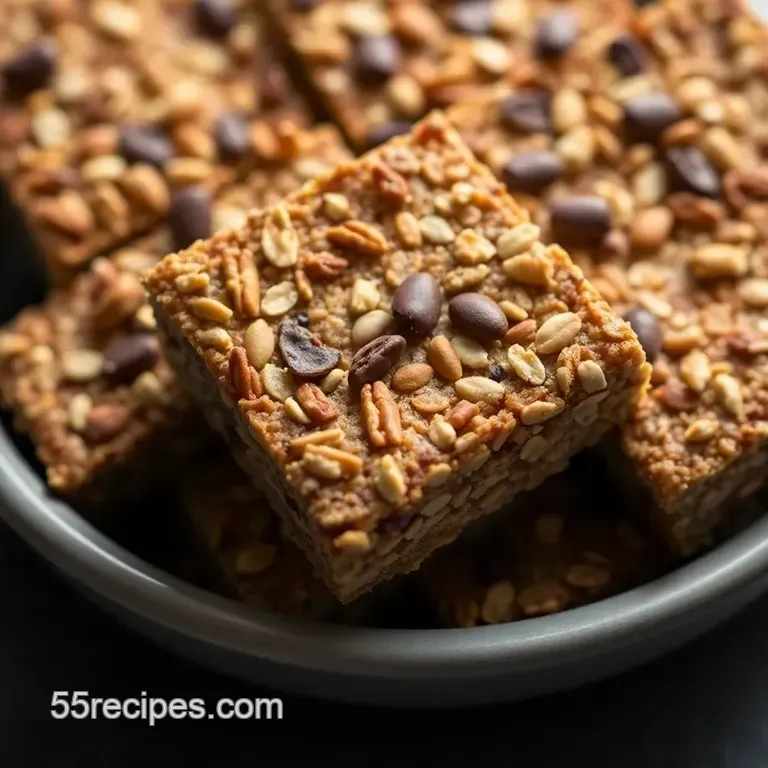
When it comes to presentation , slice those bars into perfect squares and arrange them on a white plate. you want those contrasting colors to pop.
Add a few whole nuts or a drizzle of melted chocolate on top for that instagram worthy finish.
Perfect Presentation
Speaking of presentation, let’s get into some fun plating techniques . i personally love using parchment paper as liners; they not only help with easy removal but can add charm to your snacks.
Just leave a little overhang! for garnish ideas , consider topping your bars with toasted coconut flakes or a dollop of nut butter.
It’s all about attracting those eyes!
Color combinations matter too. bright fruits mixed with earthy tones from the nuts and oats make your plate look vibrant.
And remember, food is all about visual appeal . if your snack looks good, it’s gonna taste even better!
Storage & make-ahead
Now, let’s chat about how to keep those delicious bars fresh! when it comes to storage guidelines , i recommend placing them in an airtight container.
They should stay fresh in the fridge for about a week.
If you wanna keep them longer, consider freezing them. Just wrap individual bars in parchment paper and toss them in a bag. It’s a lifesaver for meal prep snacks !
When you’re ready to eat, just remove them from the freezer and let them sit at room temp for about 10 minutes or pop them in the microwave for a few seconds.
They’re so easy to grab on the go!
Creative Variations
Feeling adventurous? let’s talk creative variations ! you can switch up your bars in countless ways. want to go tropical? add dried pineapple or mango for a fruity twist.
If you prefer a lower sugar option, use natural sweeteners like stevia or monk fruit.
For those with dietary restrictions, there are nut-free snack alternatives . try swapping in seeds like sunflower and hemp for all those nutty flavors without the allergies.
Vegan? you’re covered too! just stick to maple syrup instead of honey, and you’ve got delightful vegan energy bars .
Complete Nutrition Guide
Now, let’s break down the good stuff! each bar you whip up packs a punch with high protein snacks and nutrient dense recipes .
They’re great for pre-workout fuel or an afternoon pick-me-up. the coconut oil benefits also shine here; it not only binds your mixture but adds healthy fats to keep you feeling full.
You might be wondering about the portion guidance . i usually cut them into 12 bars, and each one is about 180 calories .
That way, you’re not overdoing it while still enjoying a satisfying treat!
Expert FAQ Solutions
So, what are some common questions i get about these bars? one of the top ones is how to prevent them from falling apart.
The secret is to pack them tightly in the pan before refrigerating. and for troubleshooting , if they’re too crumbly, just add a touch more coconut oil or honey.
Encouraging Conclusion
Here's the deal: making your own homemade snack bars is not only fun, but it’s also incredibly rewarding. with these simple instructions and tips, you’ll be whipping up easy energy bar recipes like a pro in no time.
Enjoy the thrill of crafting your version, and don’t forget to share the love with family and friends! you got this!
Nutty Energy Bars With Coconut Oil

