Chocolate Curls: Elevate Your Desserts
- Unlock the Secrets to Perfect Chocolate Curls
- Why You'll Love This Chocolate Curl Recipe
- Gather Your Ingredients For Easy Chocolate Garnish
- Ingredients & Equipment: Getting Ready to Make Chocolate Curls
- Prep Steps: Get Your Ducks in a Row
- Step-by-Step: From Block to Beautiful
- Pro Tips: Level Up Your Chocolate Game
- Recipe Notes: Chocolate Curl Masterclass
- Frequently Asked Questions
- 📝 Recipe Card
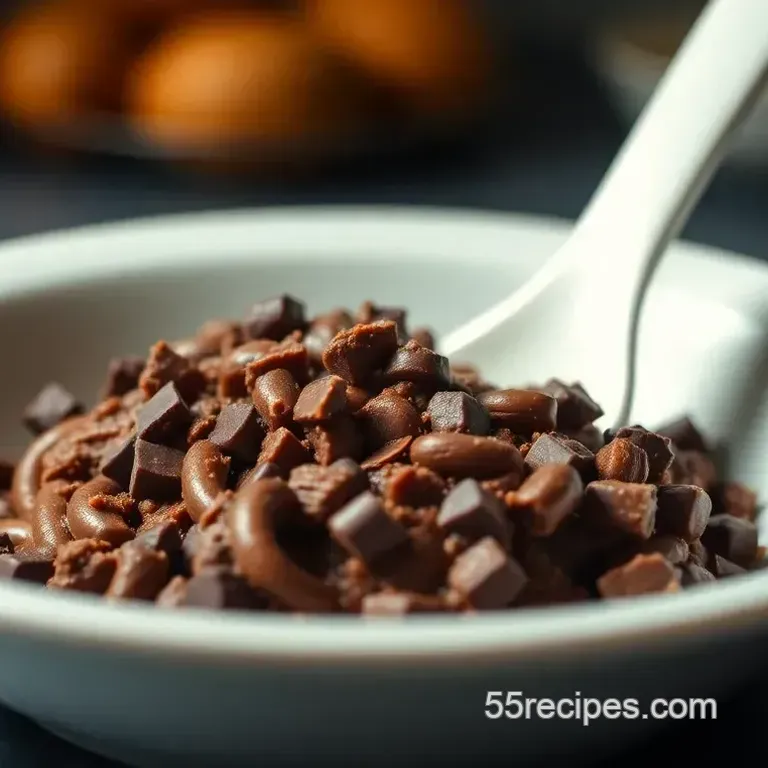
Alright, let's dive into making some proper posh chocolate curls ! have you ever looked at a cake in a shop window and thought, "ooh, i wish i could do that"? well, now you can! knowing how to make chocolate curls is easier than you think.
We're talking seriously impressive dessert decorations with minimal effort. these decadent chocolate ribbons have a rich, smooth chocolate flavour and instantly elevate any dessert.
Unlock the Secrets to Perfect Chocolate Curls
Making chocolate shavings isn't just for fancy bakers. it's a brilliant skill for any home baker. these little curls add a touch of class.
They work for cupcakes, cakes, or even a cheeky bit of ice cream. it transforms something simple into pure art.
This recipe is so simple and comes directly from the depths of my kitchen. i once tried to make chocolate roses and ended up with a right mess.
So now i am going for something a little bit easier, let's say. these easy chocolate garnish options are perfect for beginners.
It takes about 20- 35 minutes, including chilling time, and will yield enough chocolate topping to make your average dessert look instagram ready.
Why You'll Love This Chocolate Curl Recipe
Honestly, homemade chocolate decor is a winner. its one of the best reasons you will give to yourself for being creative and make the most of your time creating edible masterpieces.
These chocolate curls aren't just pretty. the best chocolate for curls , especially dark, contains antioxidants. it’s basically health food disguised as fancy cake decorating .
Plus, knowing how to curl chocolate will make you the star baker at any party.
Gather Your Ingredients For Easy Chocolate Garnish
Right, let's gather the essentials. you’ll need about 8 ounces of your favourite chocolate, think quality is the order of the day.
A baking tray, parchment paper, and a vegetable peeler are also needed to execute your chocolate peeling technique .
Alright, let's chat chocolate curls ! honestly, who doesn't love them? They're like the little black dress of dessert decorations .
Ingredients & Equipment: Getting Ready to Make Chocolate Curls
So, you want to learn how to make chocolate curls ? ace! first things first, let's gather our bits and pieces.
This ain't rocket science, but having the right stuff makes it much easier. we're talking easy chocolate garnish that will make you feel you are elevating desserts .
Here's what you need:
Main Ingredients: The Chocolate Show
- 8 ounces (225 grams) of good quality dark chocolate , milk chocolate , or white chocolate , roughly chopped.
Quality matters: seriously, grab decent chocolate. i reckon a bar with at least 50% cocoa solids is the sweet spot for dark chocolate curls .
This gives you that delightful snap and helps avoid that pesky chocolate bloom later on. this is the best chocolate for curls .
It's all about that cocoa butter content! honestly, use whatever brand you love! think of it, a homemade chocolate with your preferite brand.
Seasoning Notes: A Little Extra Zing?
Normally, chocolate shavings don't require lots of seasoning. But let's have a little fun, shall we? If you're feeling adventurous:
- A pinch of sea salt will make it salted chocolate curls . Delicious!
- A teaspoon of orange zest to the melting chocolate , for orange zest chocolate curls .
- A teaspoon of instant espresso powder for Espresso chocolate curls .
- A few drops of peppermint extract for Peppermint chocolate curls .
Remember : Add these to your melting chocolate , after you've melted it. It's easy and fun. Also, it will make the homemade chocolate amazing.
Equipment Needed: Keep it Simple
- A microwave safe bowl. Glass is great!
- Baking paper. This will stop the chocolate from sticking.
- A vegetable peeler. It is perfect for how to curl chocolate ! A small sharp knife will also work, but please, be careful . This is perfect for getting perfect chocolate curls .
Alternatives: don't have baking paper? cling film can be use instead, just remember to avoid it getting melted. no peeler? a butter knife will work, but gently.
I remember the first time i tried this. oh my gosh! it was a disaster. chocolate everywhere.
So, that's all you need. Now, let's get making some curls! These decadent chocolate ribbons will make any dessert feel fancy. How to make chocolate shavings ? easy! I´ll show you.
Alright, let's get our apron on and dive into the delightful world of chocolate curls ! i reckon even mary berry would approve of these.
Let's see how to make chocolate curls , easy peasy, like.
Prep Steps: Get Your Ducks in a Row
Honestly, the mise en place is crucial here. It's all about being organised, innit? Before we even think about melting chocolate , let's get everything sorted.
Essential mise en place ? chopping the chocolate , lining the baking sheet, and finding your peeler, duh! the best chocolate for curls is the one you love.
The higher cocoa butter content the better. aim for at least 50%.
Time saving tip? Get the baking sheet in the fridge before you melt the chocolate. It's all about speed.
Oh my gosh, safety first! No running with knives. And mind that hot chocolate; it burns!
Step-by-step: From Block to Beautiful
Right, now for the fun bit! Here's the chocolate curls tutorial in a nutshell:
- Chop your chocolate into small pieces. Helps it melt evenly, see?
- Melt the chocolate gently. Microwave in 30-second bursts, stirring in between. Don't burn it! Alternatively, use a double boiler.
- Spread the melted chocolate onto your lined baking sheet. Aim for a thin layer, about 1/8 inch thick.
- Chill in the fridge for 15- 30 minutes . It needs to be firm, but not rock solid. This is key !
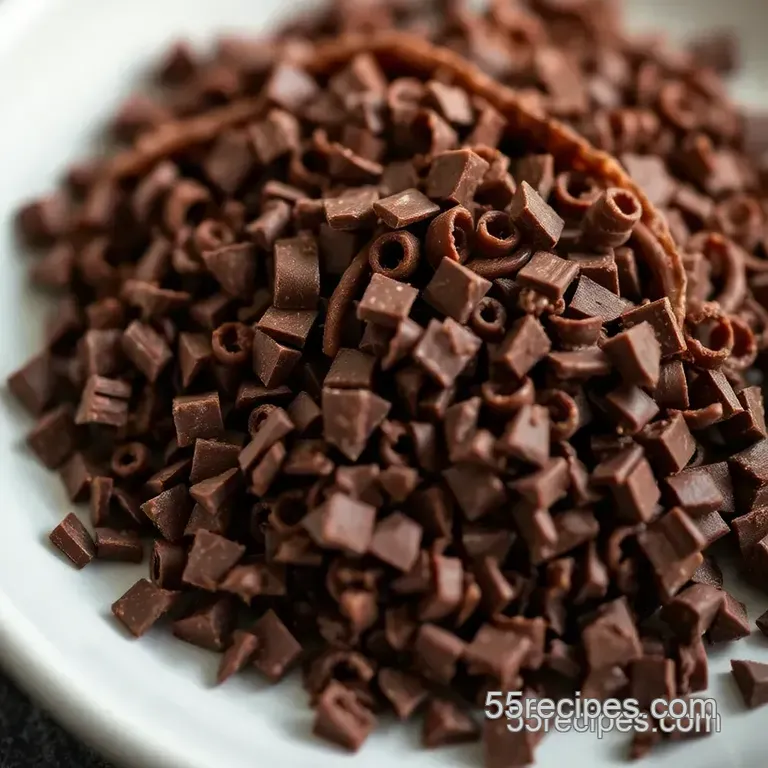
- Using a vegetable peeler, push along the surface of the chocolate at a 45-degree angle . Voila! Chocolate ribbons !
- Gently collect your easy chocolate garnish and store in the fridge.
See, not rocket science!
Pro Tips: Level Up Your Chocolate Game
Want perfect chocolate curls every time? I've got a few tricks up my sleeve.
First, tempering chocolate ! it's a bit fiddly but gives you super shiny curls that snap. there are plenty of resources around on how to temper chocolate for curls, it makes your home baking even better.
Common mistake? Over chilling. If it's too hard, leave it at room temp for a few minutes.
Make-ahead option? Absolutely! Store those chocolate shavings in an airtight container in the fridge. Just be careful as these babies can melt very easily.
So there you have it! chocolate curls . now go forth and elevate those desserts! and if you fancy a cheeky twist, throw in some salted chocolate curls or even orange zest chocolate curls .
It's all about the fun.
Alright, let's chat about those final touches that make all the difference. we're talking about bringing those homemade chocolate dreams to life! think of these as the extra sprinkles on your already fabulous dessert.
Honestly, it's all about having fun and making it yours .
Recipe Notes: Chocolate Curl Masterclass
These aren't just rules; they're your secret weapons. i remember the first time i tried how to make chocolate curls , i thought "easy peasy!".
Oh, was i wrong! these notes are what i wish i had known back then. we'll explore all things chocolate art here!
Serving Suggestions: Plating Like a Pro
Presentation matters, right? elevate desserts with a simple scattering of your gorgeous curls. a few thoughtfully placed chocolate ribbons can transform a basic cake into a masterpiece.
And don’t forget your drinks! those chocolate shavings look amazing on hot chocolate or even a fancy coffee. seriously, it's easy dessert decoration that makes a huge impact.
Think about contrasting textures and colors, too. a dark chocolate topping against a light frosting? chef's kiss!
Storage Tips: Keepin' it Fresh
Nobody wants sad, melted curls! for refrigeration, pop them in an airtight container. preventing chocolate bloom is key, so keep them cool and dry.
If you made a ton (go you!), freezing is an option. just let them thaw slowly in the fridge before using.
When reheating (if you've used them in a baked good), watch closely. the chocolate curling temperature is delicate, so gentle warming is best.
Variations: Get Creative!
Want to spice things up? salted chocolate curls are my absolute fave! add a pinch of sea salt to the melted chocolate.
Orange zest chocolate curls are incredible, too. and for my vegan friends, use good quality vegan chocolate.
Nutrition Basics: A Treat, Not a Meal (Duh!)
Okay, let's be real. these are dessert decorations , not health food. decadent chocolate ribbons are a treat. savor them! everything in moderation, right? it's good to keep in mind the chocolate cocoa butter content though.
Higher content means a richer flavor, but also more fat.
So, there you have it. with these tips, you’re all set to make perfect chocolate curls . don't be afraid to experiment.
Just dive in and have fun creating chocolate curl sizes ! before you know it, you'll be a pro. seriously, you've got this! happy chocolate crafting! think of this as your chocolate garnish guide.
Now go get those shiny chocolate curls and decorate those cakes, make some easy chocolate garnish , or some quick dessert decoration with these gourmet chocolate curls !
Frequently Asked Questions
How to make chocolate curls that look professional?
Achieving professional looking chocolate curls is all about the temperature of the chocolate! Tempering the chocolate, although a bit fiddly, is key to getting those shiny, snappy curls. If you skip tempering, ensure the chocolate is just firm enough after chilling not too hard, not too soft.
Think Goldilocks it needs to be just right.
What's the best type of chocolate to use when learning how to make chocolate curls?
For beginners, I recommend using good quality semi sweet or dark chocolate with a high cocoa butter content (at least 50%). This type of chocolate melts smoothly and curls nicely. Milk chocolate can be a bit trickier as it tends to be softer.
Avoid using chocolate chips directly, as they're designed to hold their shape and won't curl easily - they're more like stubborn Yorkshiremen than graceful ballerinas!
My chocolate curls are melting too quickly. What am I doing wrong?
Melting chocolate curls are usually a sign that the chocolate wasn't properly tempered or wasn't chilled enough. Make sure you're chilling the chocolate until it's firm but pliable. Also, handle the curls gently with cool hands or even wear gloves to avoid transferring heat.
You can give them a quick blast in the fridge before serving too.
Can I add flavor to my chocolate curls?
Absolutely! Infusing your chocolate curls with different flavors is a fantastic way to add a unique touch to your desserts. Try adding a pinch of sea salt for salted chocolate curls, or mix in orange zest, peppermint extract, or espresso powder to the melted chocolate.
Just be careful not to add any liquid ingredients, as this can cause the chocolate to seize.
How should I store leftover chocolate curls, and how long will they last?
To keep your chocolate curls looking their best, store them in an airtight container in the refrigerator. They'll generally last for up to 2 weeks. Be mindful that they may lose some of their shine over time.
For longer storage, you can freeze them, but they might become a bit crumbly upon thawing, so it’s best to use them directly from frozen on ice cream for example.
Is there a healthier way to make chocolate curls?
You can certainly make slightly "healthier" chocolate curls! Opt for dark chocolate with a higher cocoa percentage; it generally has less sugar. While they are still chocolate, and therefore high in calories, treat your curls like a garnish rather than the main event and enjoy them in moderation.
Chocolate Curls Elevate Your Desserts

